Tweet tweet!

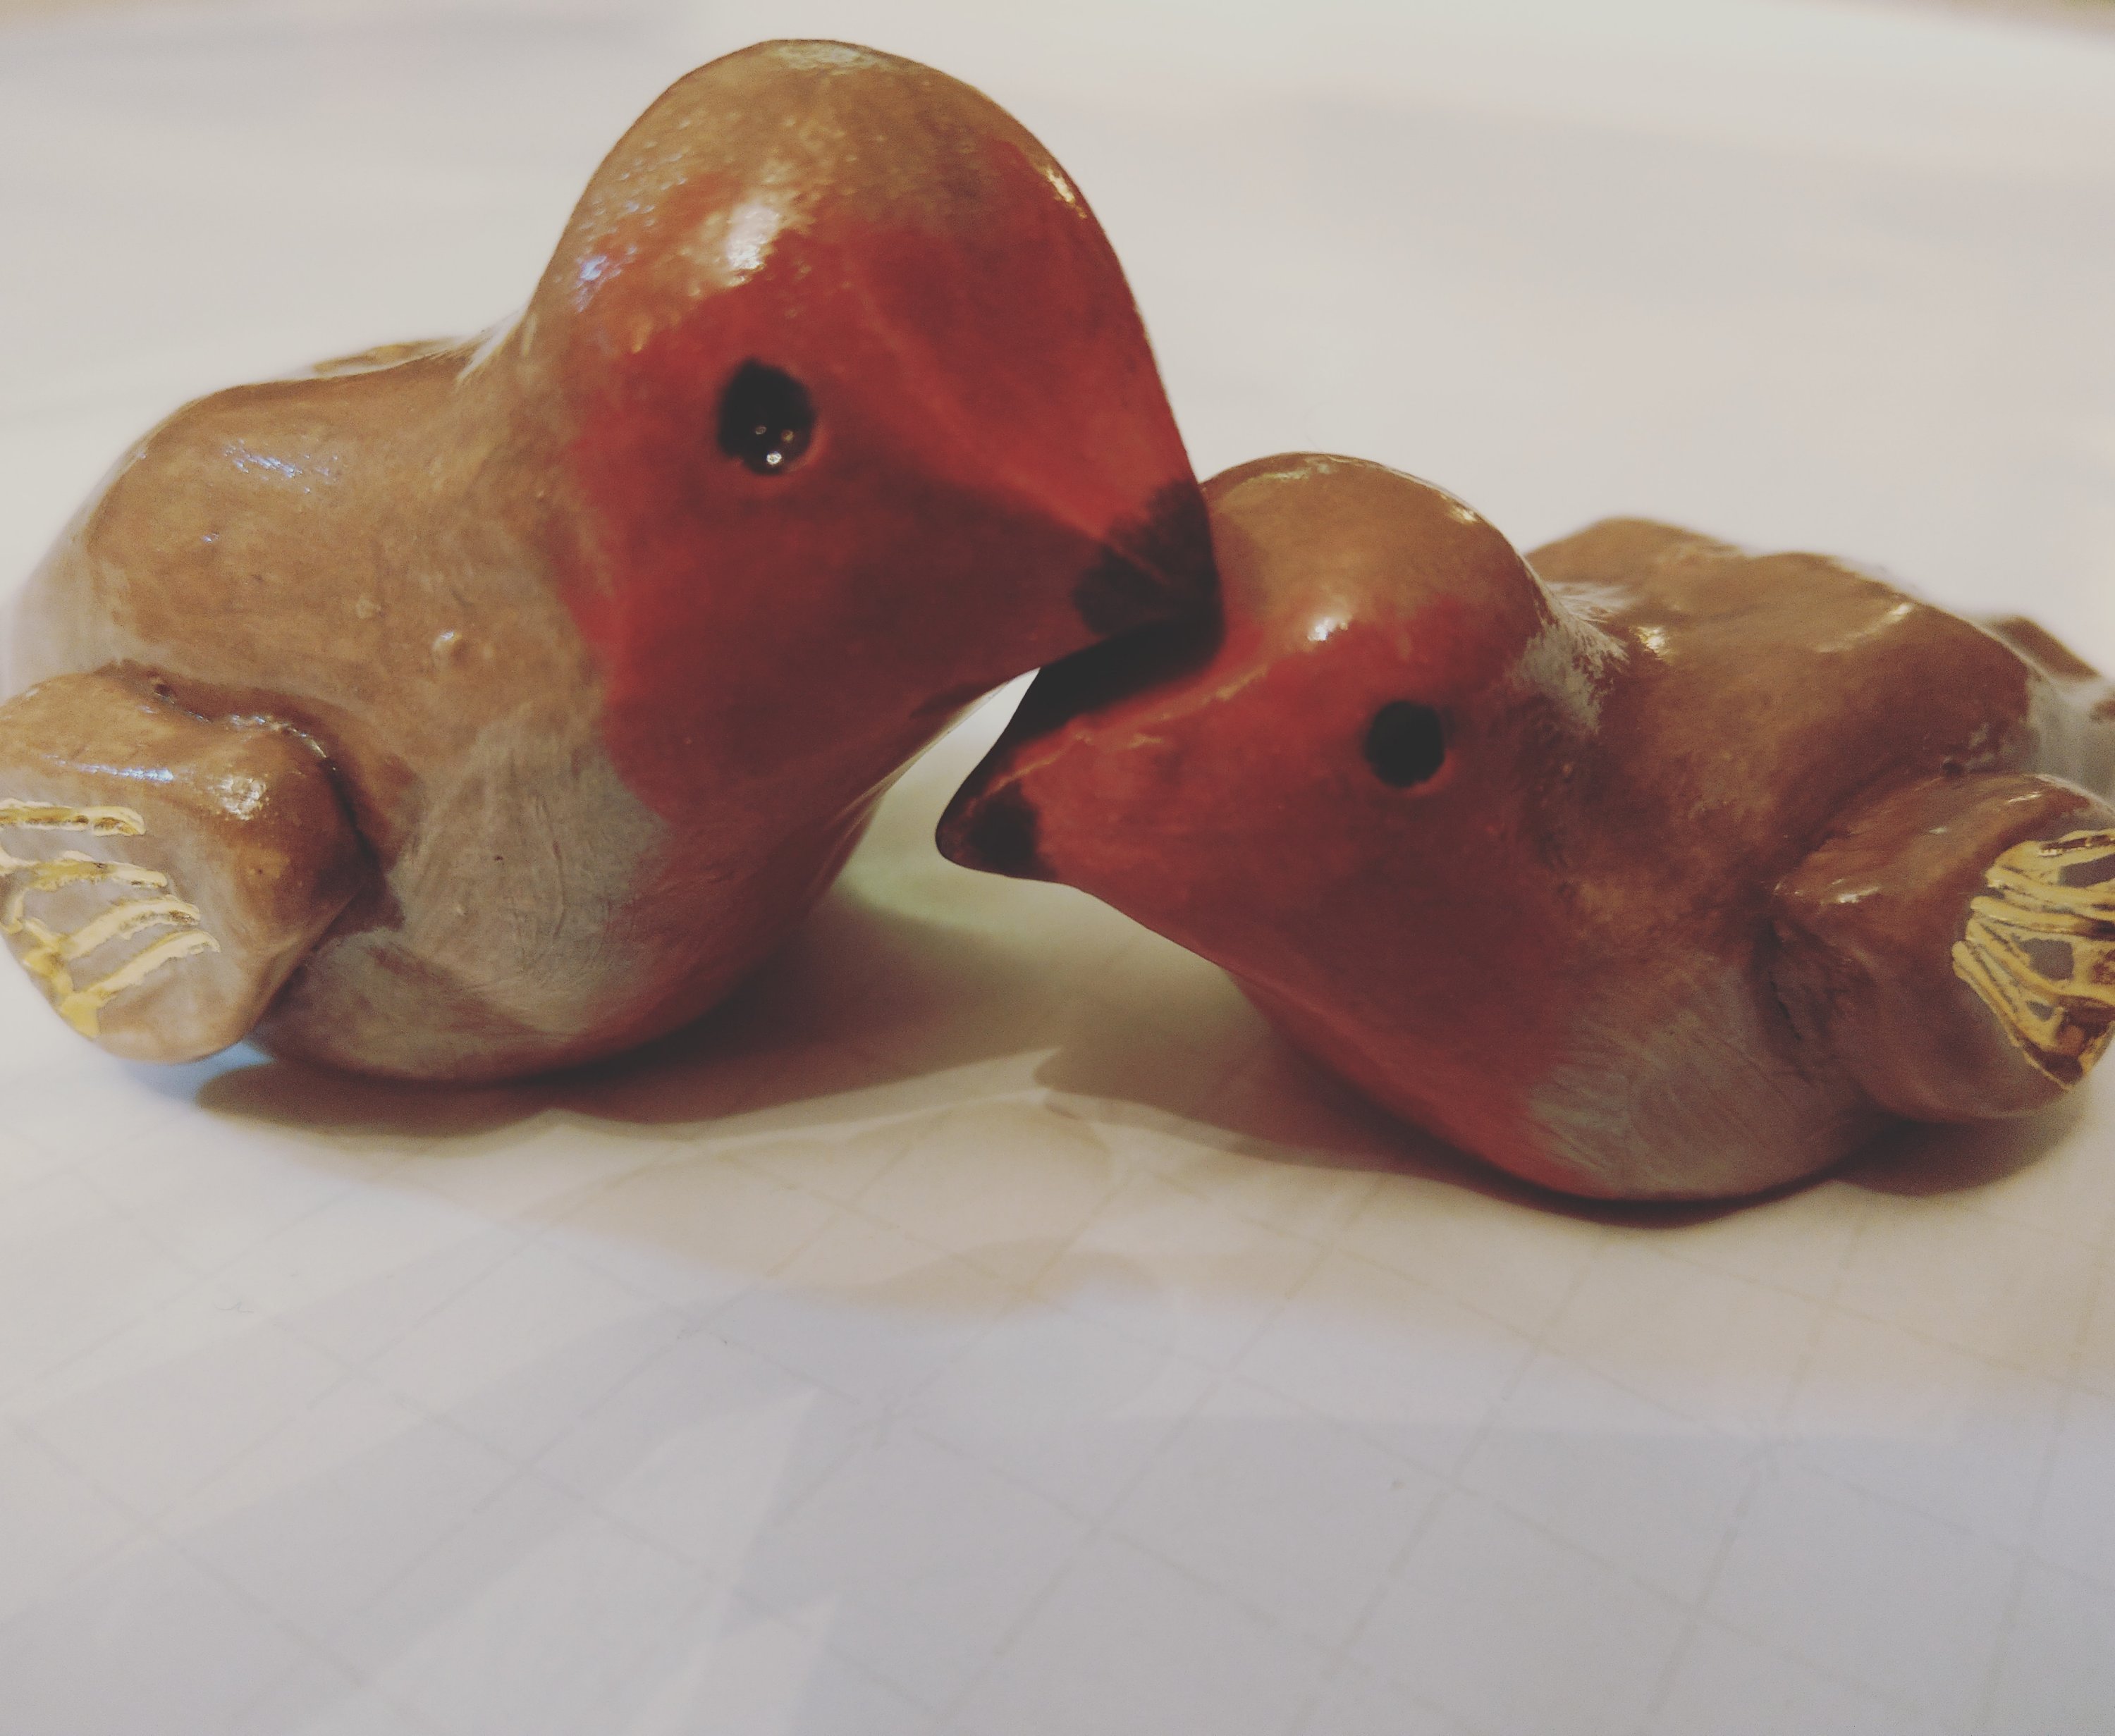
For years my Mum has been asking for some Yule tide robins. This year I was feeling inspired and on track to fire at the appropriate time.

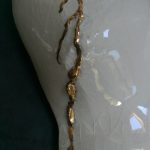
With some left over porcelain some little birds with golden wings appeared….

I hope you have a Happy Christmas and a joyous New Year 2019!

Rhonda is broken!

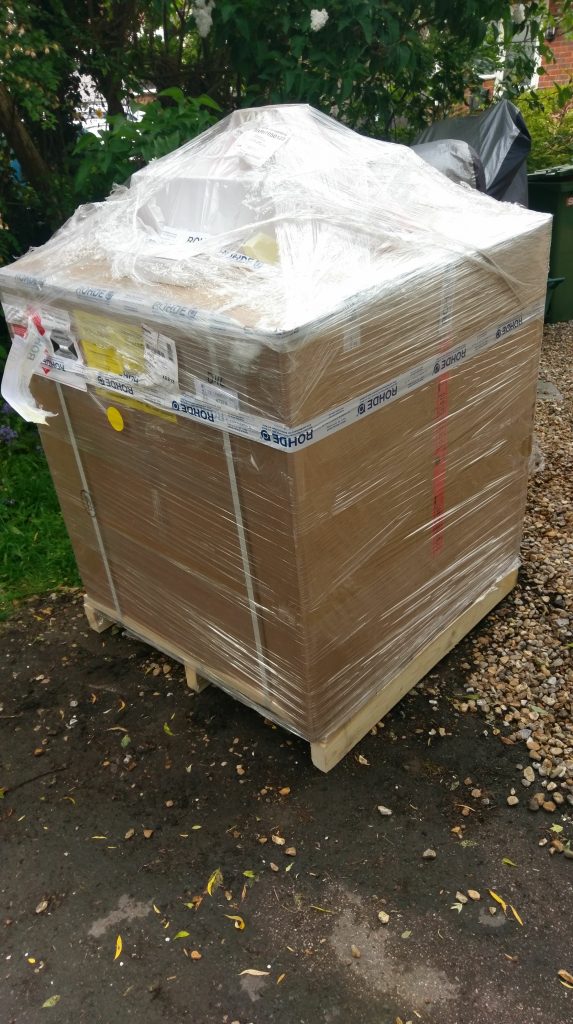
We moved house earlier this year. Let me tell you now that deciding to move the kiln between the Two of us sounded heaps easier that it actually is. The kiln (Rhonda) is not only very heavy her shape is also jolly awkward!

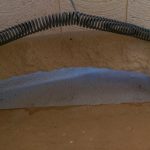
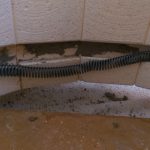
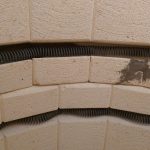
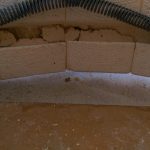
Although we thought she travelled well, when moving her to her new boudoir unnoticed that some of her fire bricks had become cracked!

A disaster I did not want to even contemplate…..

While I was busy ignoring the issue, husband took a practical approach and found this very useful pdf .

I spoke to the chaps at Bath Potters who didn’t seem to thick my almost total loss of brick thickness was too much of an issue and recommended special refractory glue adhesive or refractory cement…. I bought both to be sure!

I set about trying to jigsaw the broken pieces back into the body of the kiln (harder than it sounds especially as the bricks were at the bottom of one of the kiln sections and hard to get to!).

I balanced Rhonda on the edge of a board so I had just enough space to get to her broken bricks.

The glue worked to sticks the broken bits back together and then I packed the remaining space with the cement – trying not to get anything on the elements…

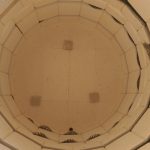
With trepidation I rebuilt Rhonda and then engaged her in a bisque fire. On opening the lid everything seems to have set and none of the bricks moved! I also used a thermal imaging camera on the outside of the kiln whilst it was running to be sure there were no hot spots.. There weren’t so the glue and cement appears to have done the job. Hurrah!

Body Casting. Part 3

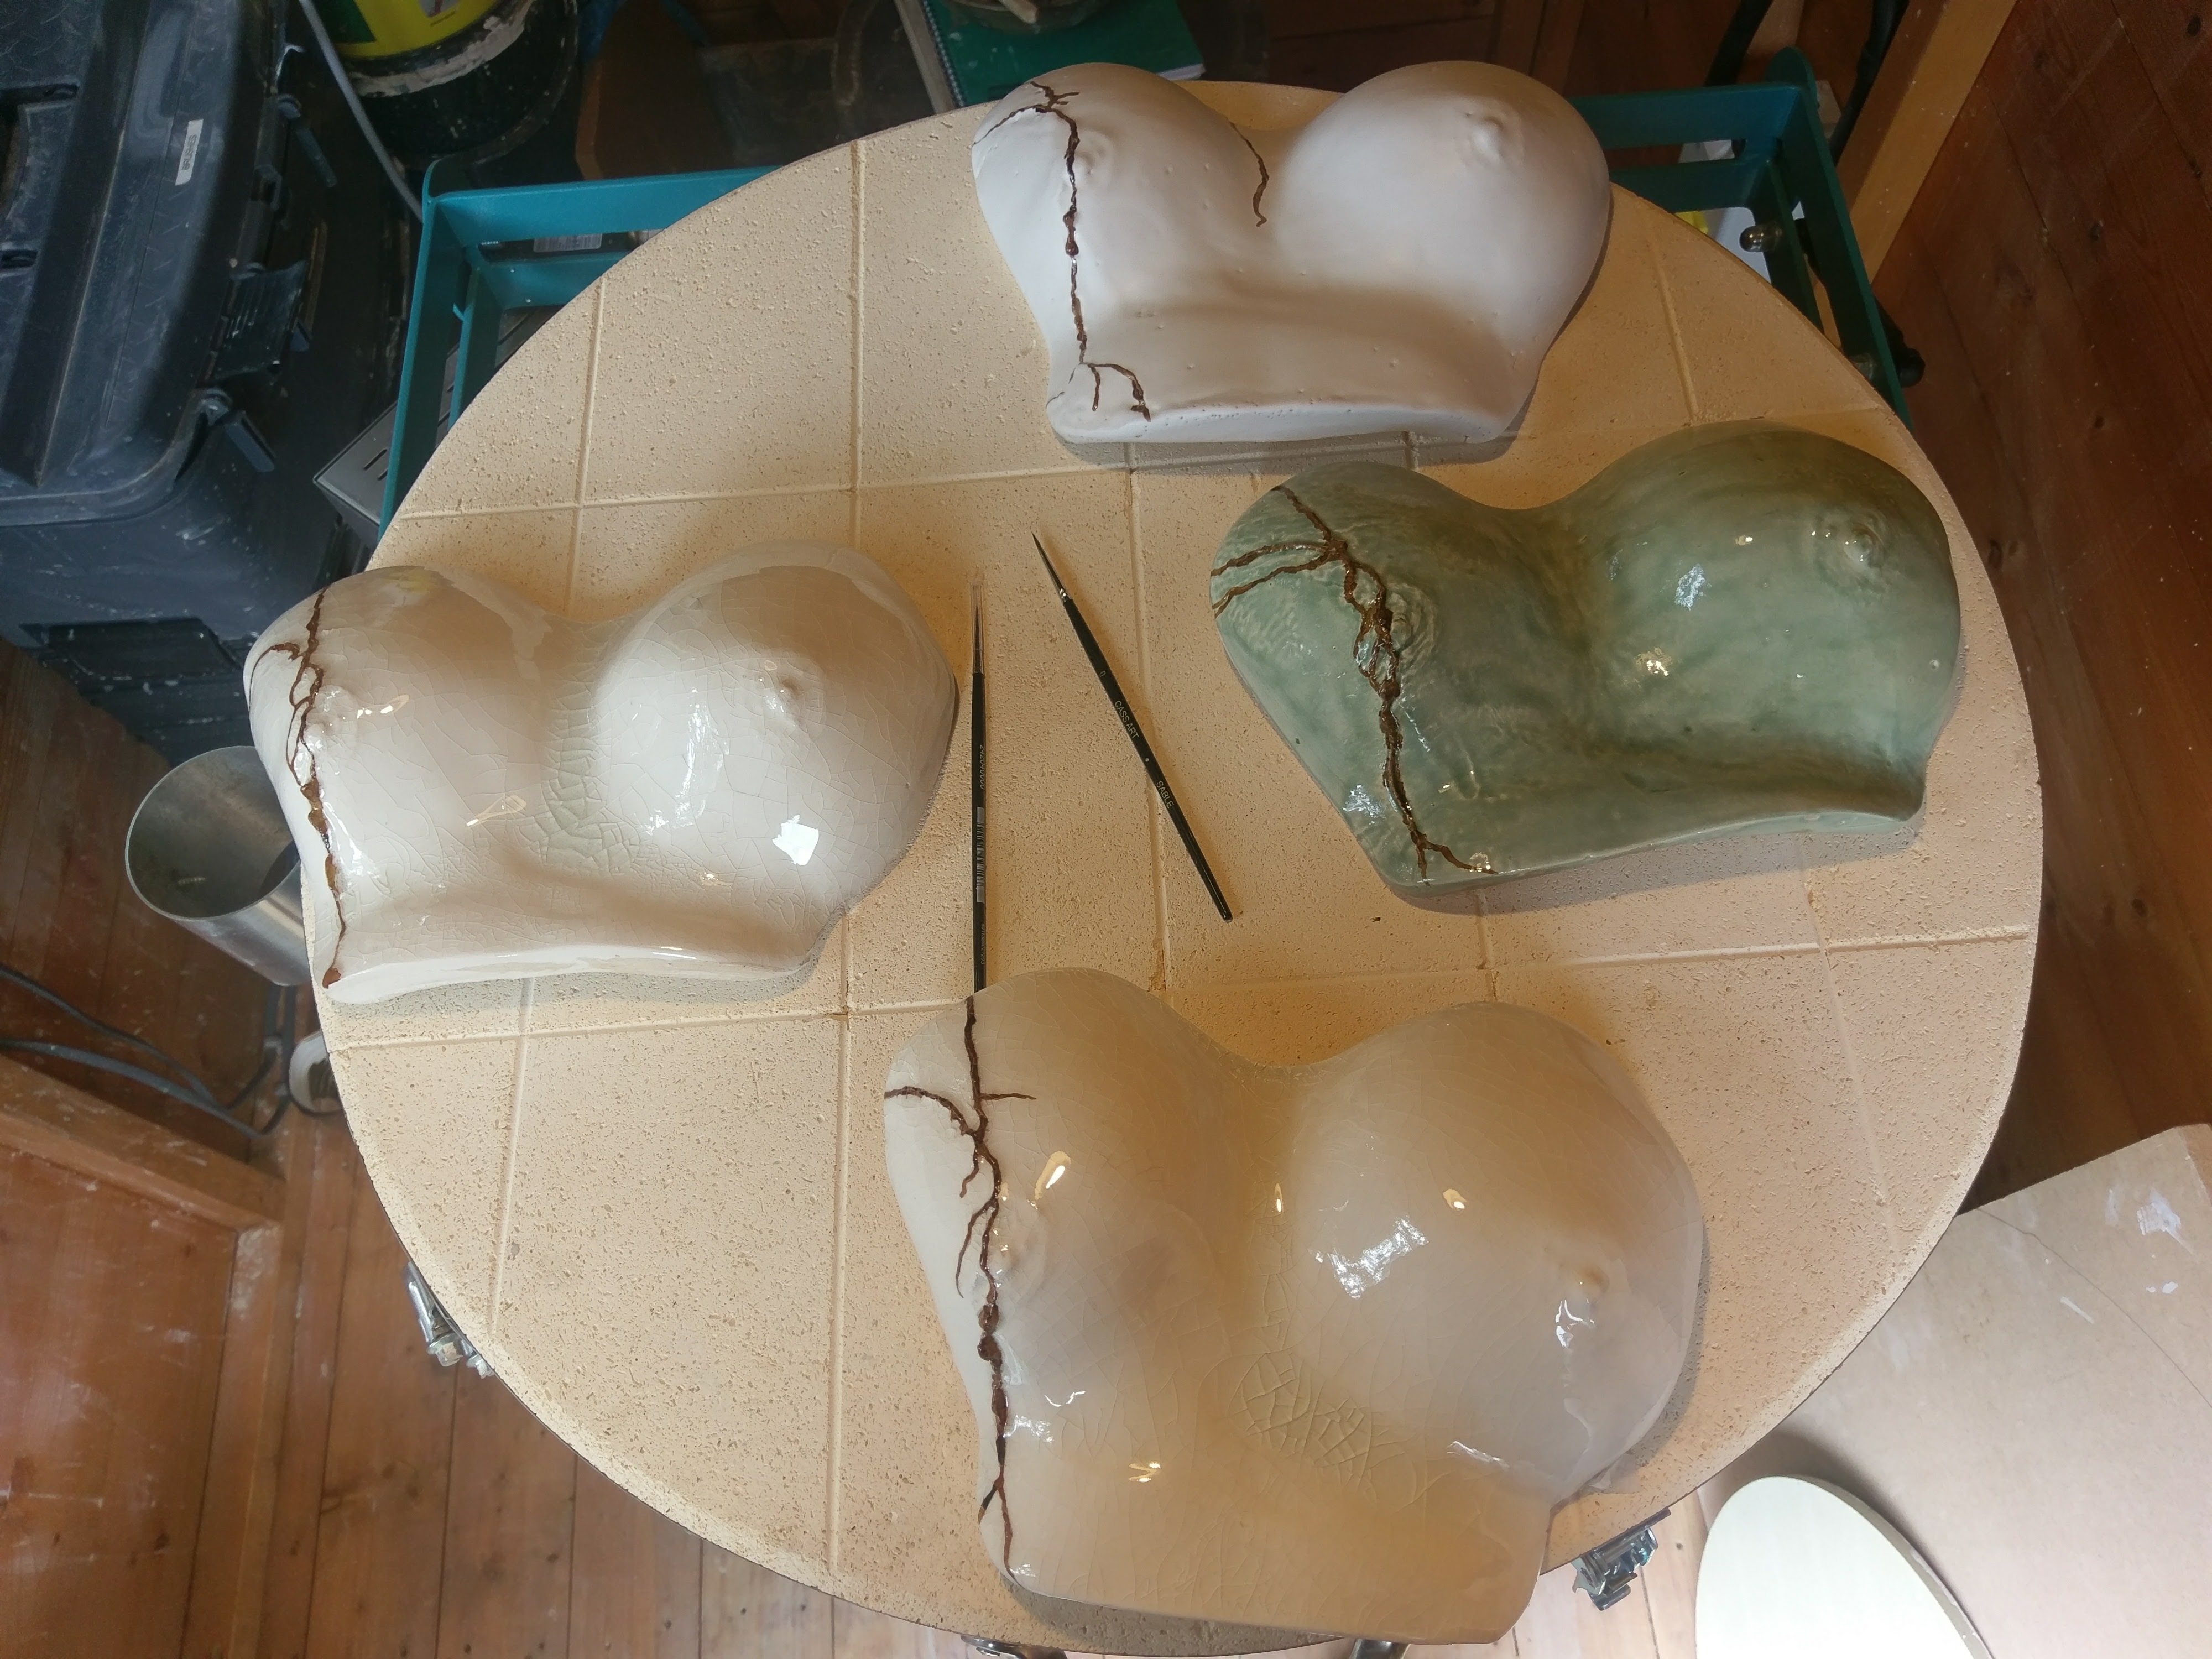
The next step in the saga was to glaze them. I used brush on glazes such as: clear crackle, chrysanthos and matt white.

I am used to using three coats of this kind of glaze, so I dutifully painted each mould with three coats… Only to learn they need one!

By the time I had finished I thought I would go for it and see what happened…

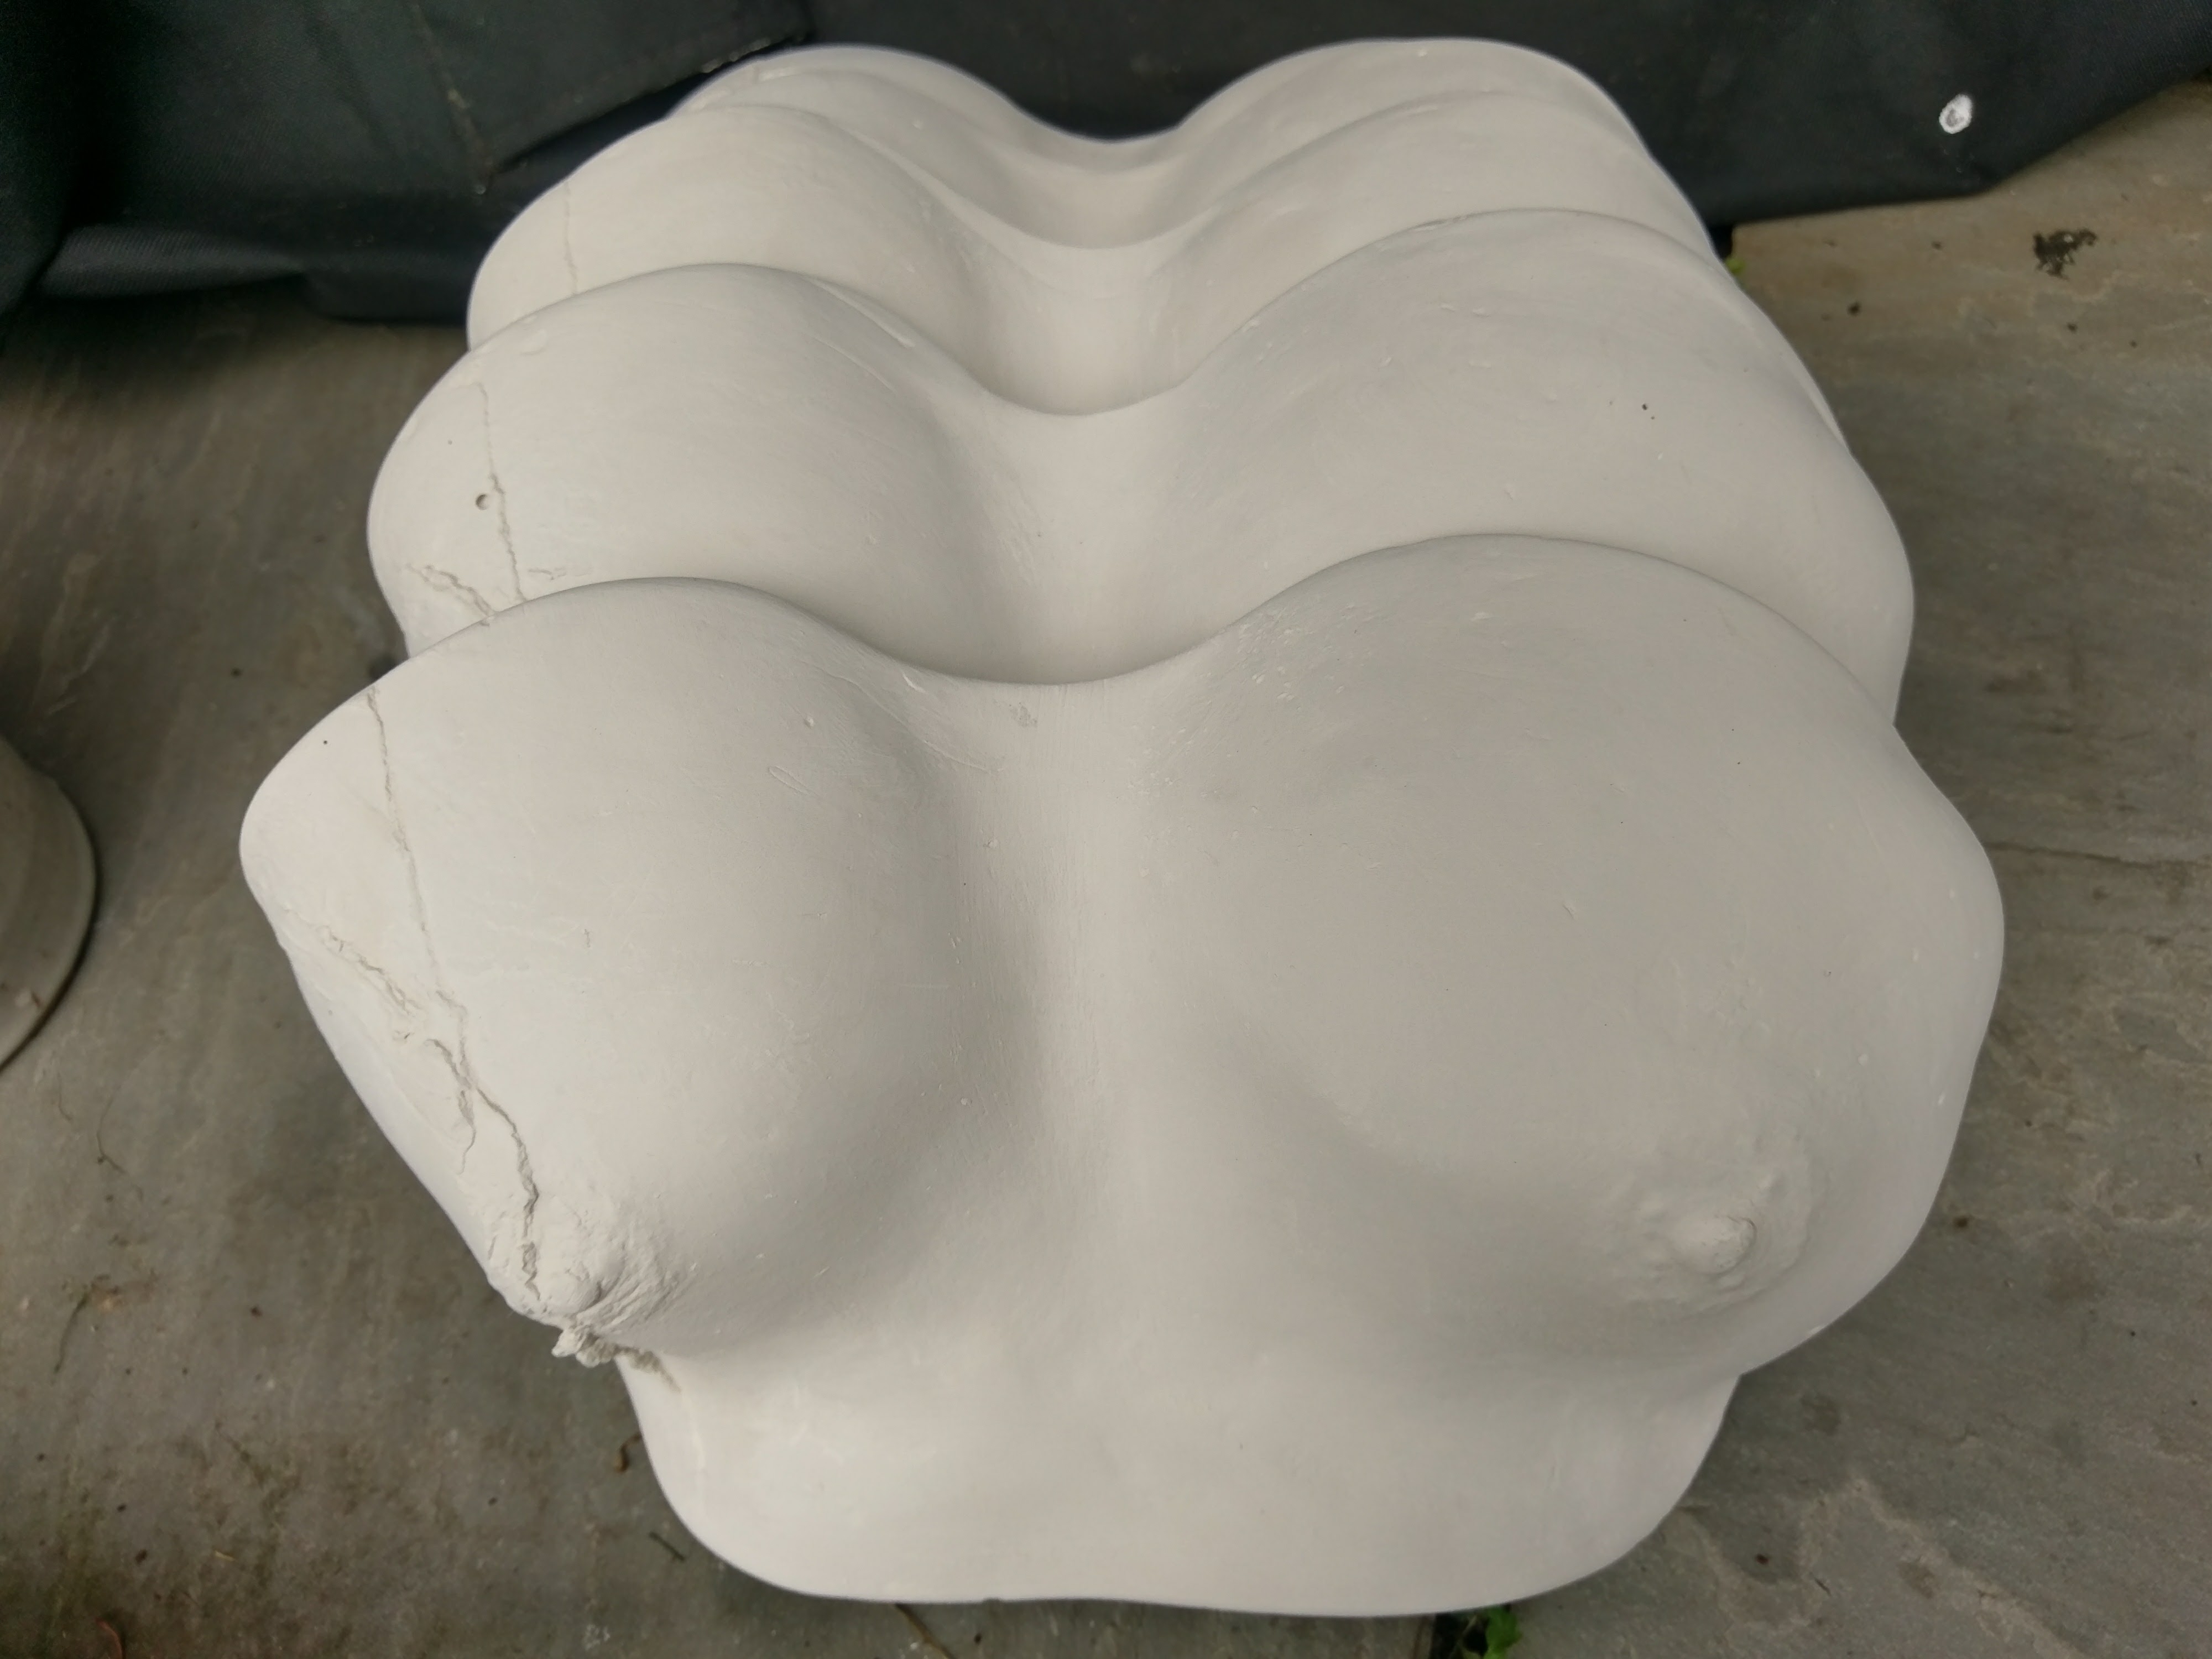
The casts came out really well and although some of the glaze was a little thick (some serious sanding required – wear a mask!) it actually really suited the piece as the glaze was really glassy.

The crack in the mould was over the tutor and I decided to make this a feature by painting it with shiny gold lustre. Firing a third time to about 750’C with a ramp of about 100’C per hour (no soak time) revealed the final moulds….

My friend is very pleased with these and has vowed to take them into the office to show everyone!

I am really happy with how they came out and to me are a poinient piece of art work commemorating the female form.

Body Casting – Part 2

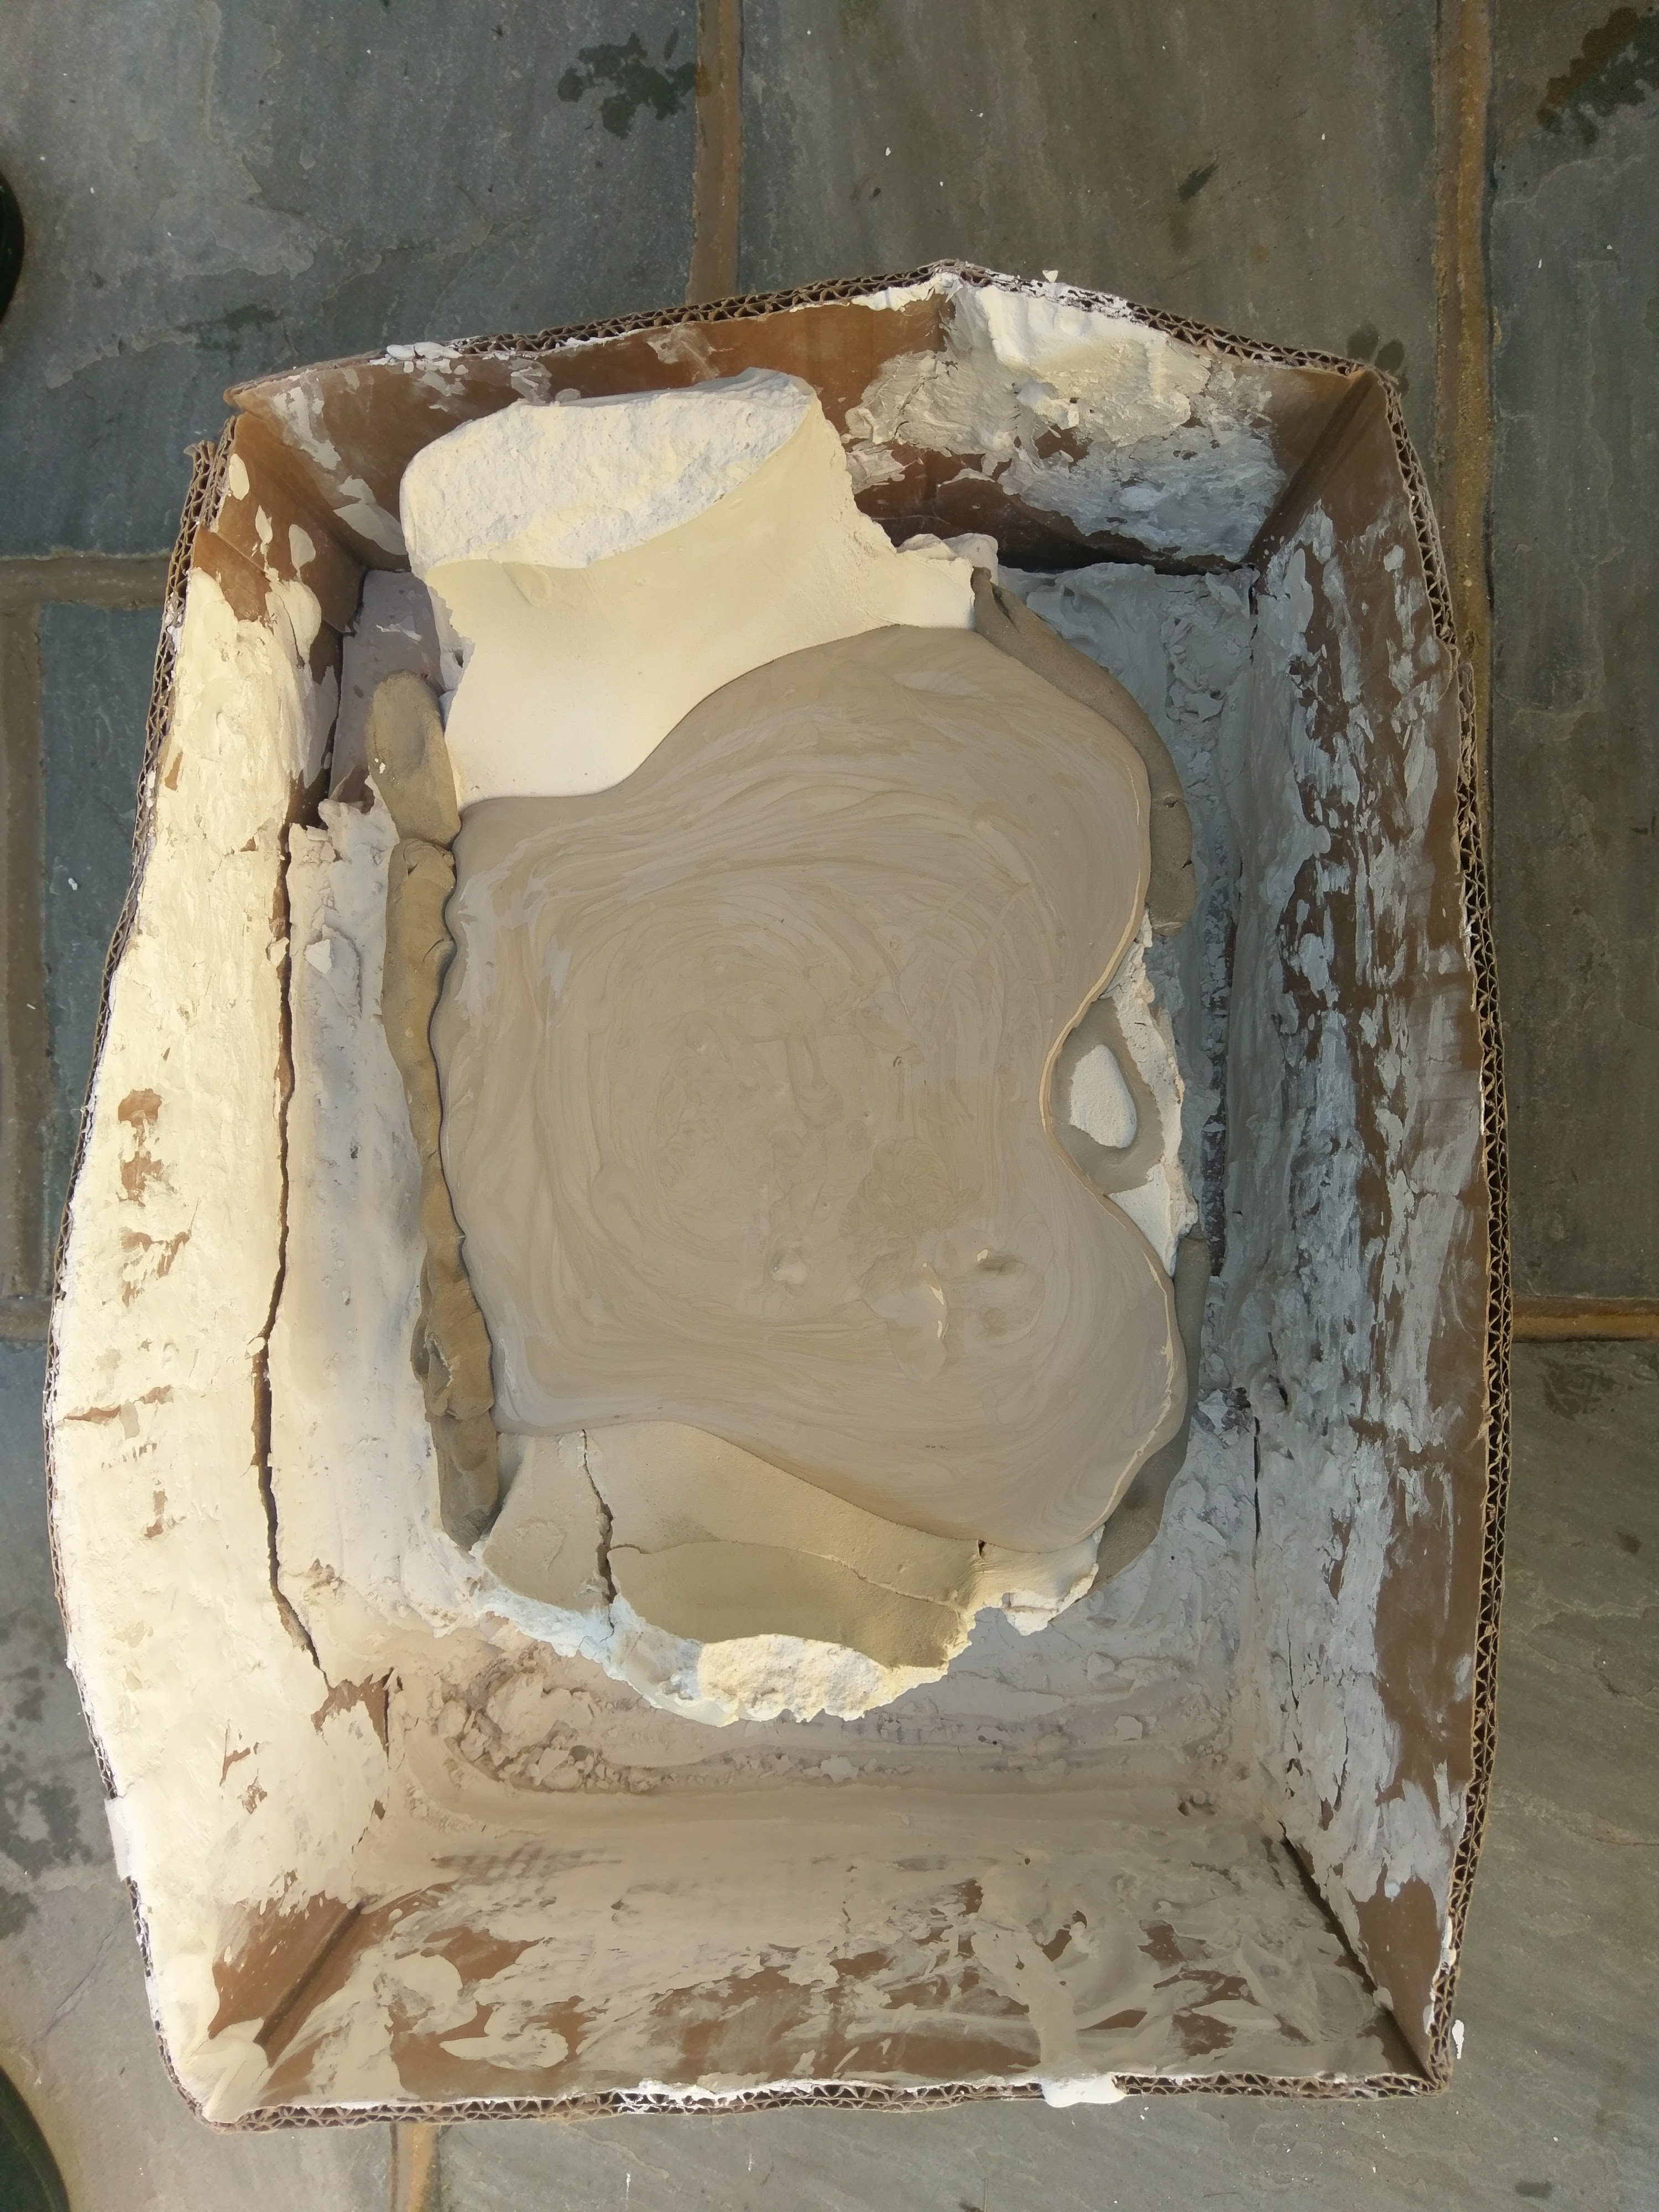
So after the body mould was made it cracked a little (coincidentally on the left hand side where the tumor was). In order to get and stabilise the mould I popped the whole thing in a box and stabilised it.

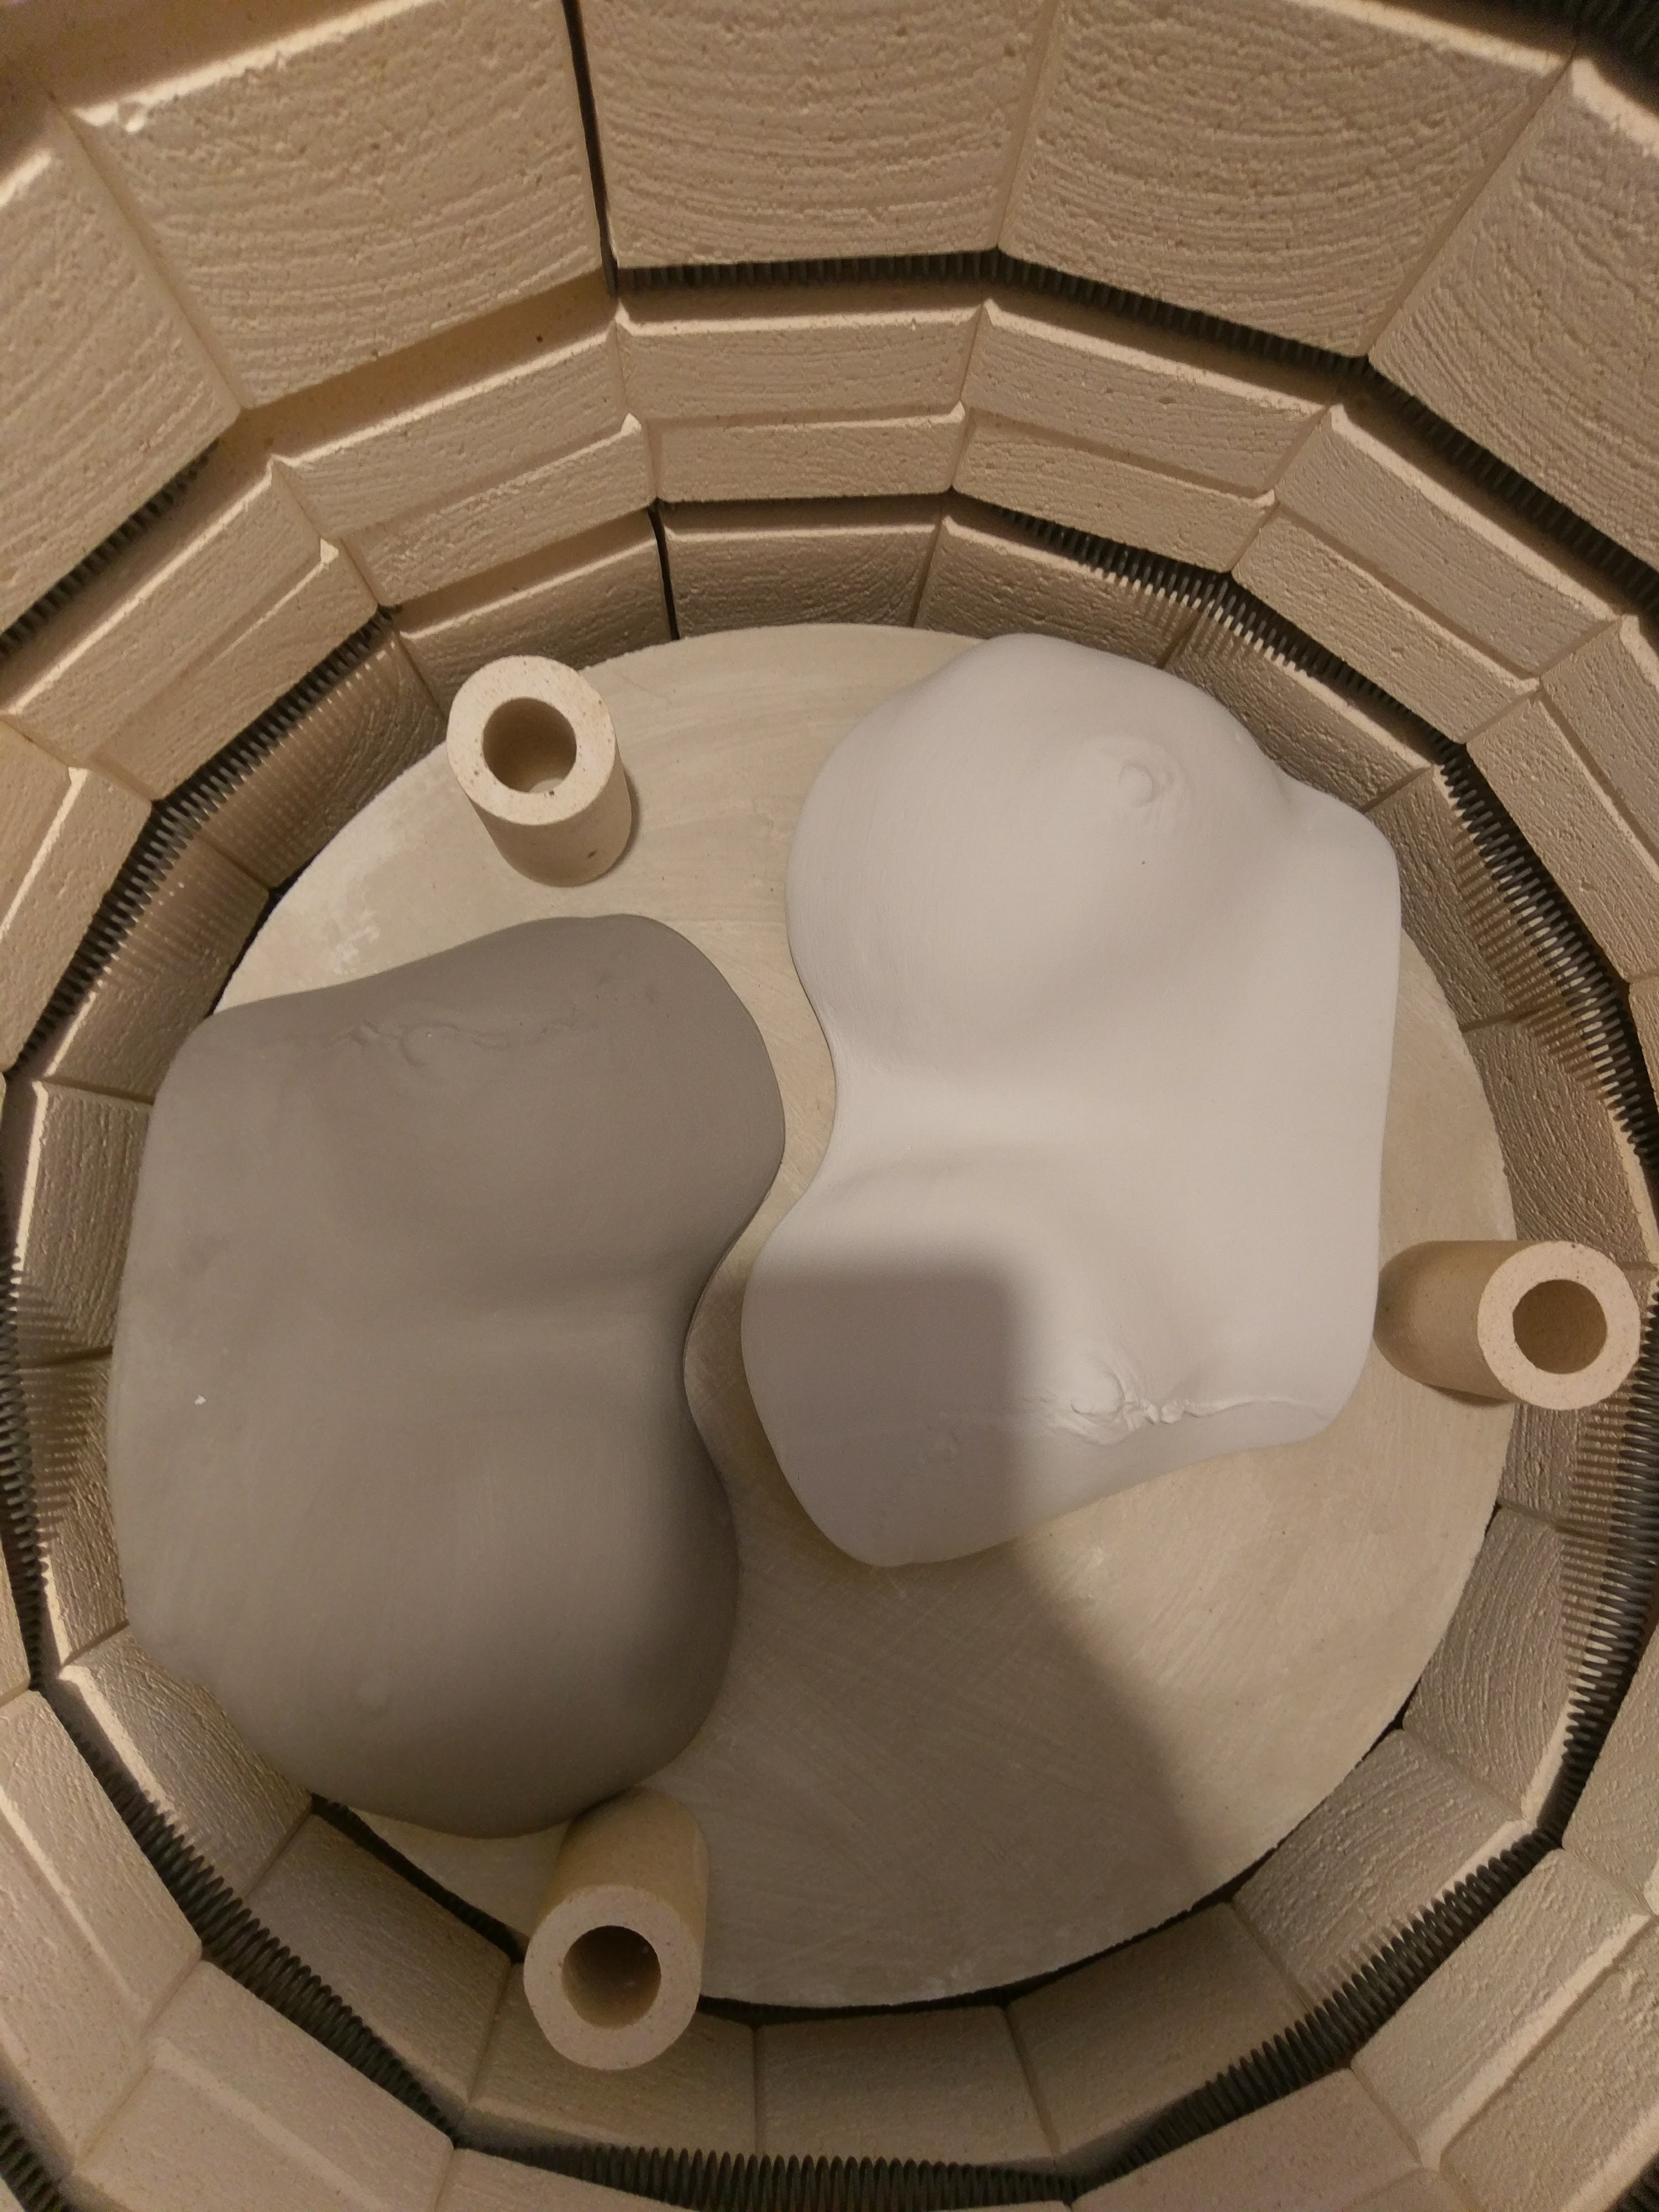
When everything was dry I poured in white earthenware slip, using Clay to damn the edges. I left the whole lot for about 30 minutes until the slip had formed a clay deposit about 4-5 mm thick.

I then poured out the remaining liquid slip and left the mould to dry for about half a day (it was summer and a good day for drying!).

I made four moulds in total and spent some time trimming and cleaning them up with sponges. They were ready to be bisque fired…

I tired these to about 950 ‘C with a soak time of about 10 minutes.

Body Casting. Part 1

My beautiful friend was sadly diagnosed with breast cancer at the end of last year.

After triumphantly taking on chemotherapy and with surgery looming we discussed taking a cast!

We had planned doing it slowly, but a rapid surgery date meant action stations!

I had done lots of research on body casts and while you can take wonderful casts with alginate type casting powders, you can not make a clay cast from them.

I bulk ordered fine plaster of Paris and we got to work!

Now the difficulty we faced is that taking a cast of two breasts is harder than one! I have seen examples were you can, essentially, strap a halved flower pot to one breast and fill that plaster. I didn’t have a flower pot big enough!

So I opted for heavy duty nylon bags and lots of duct tape. We made a pocket so that she could stand up to get the most natural looking cast possible.
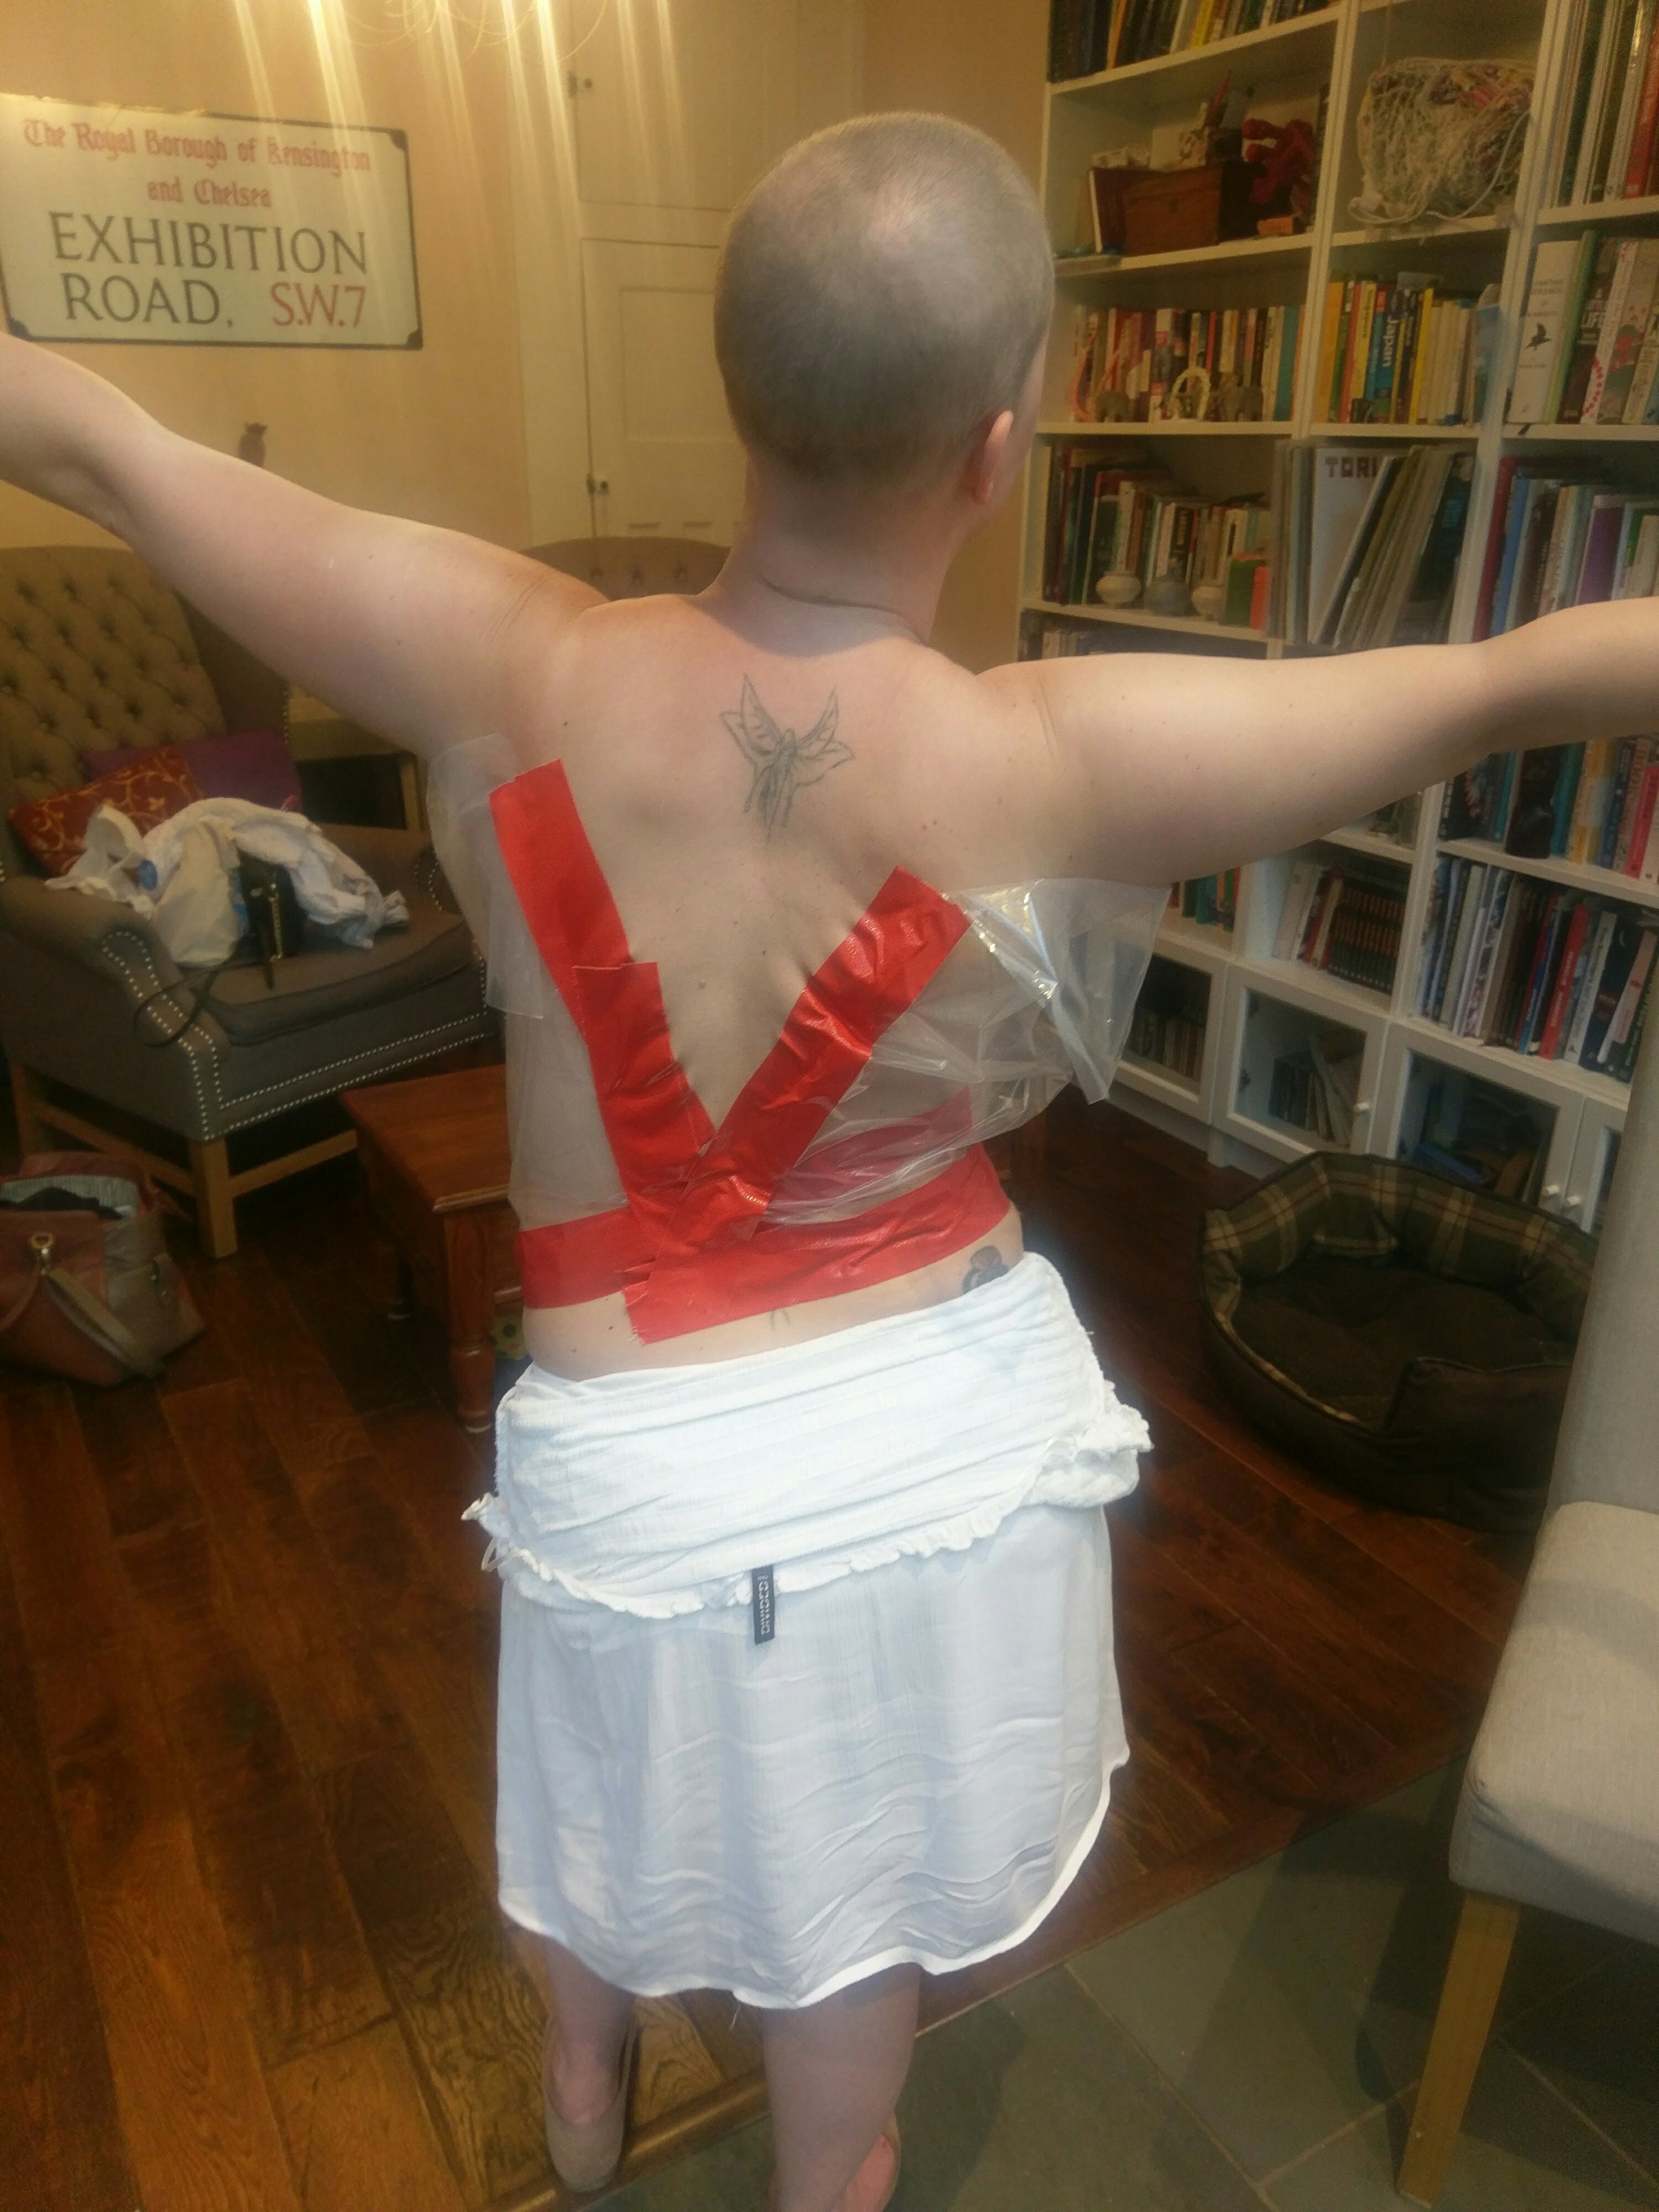
Then we went to the garden (good idea) and I started to make batches of plaster and slowly filled up the pocket with plaster… the plastic pocket sprung a leak (bad idea).

We tried wrapping more tape around to seal the leak and this helped a little. Also I completely underestimated exactly how much plaster you need (lots), so it was a race against time to make another batch.

Happily, by this time the first batch of plaster had started to set which helped with the leak!

A downside of lots of plaster is that it becomes very heavy so we had to support the weight whilst also not squashing the cast!

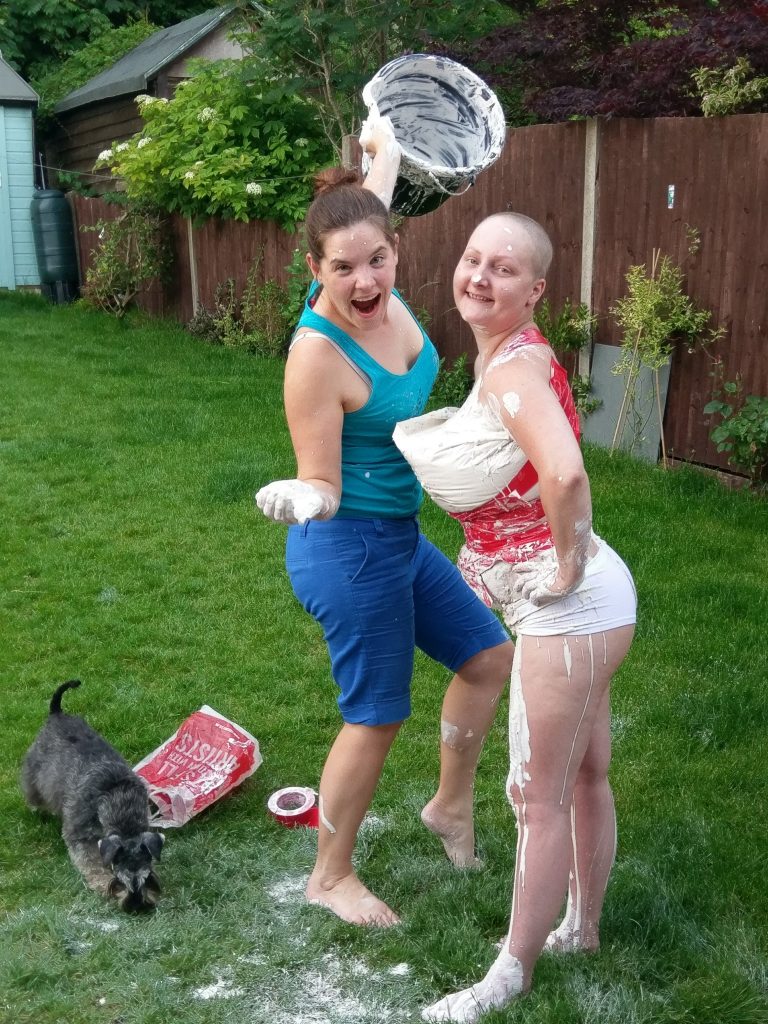
It was a messy business! (Dog was very helpful in this task obviously!)

Once the plaster had hardened a little my friend needed a little lie down…
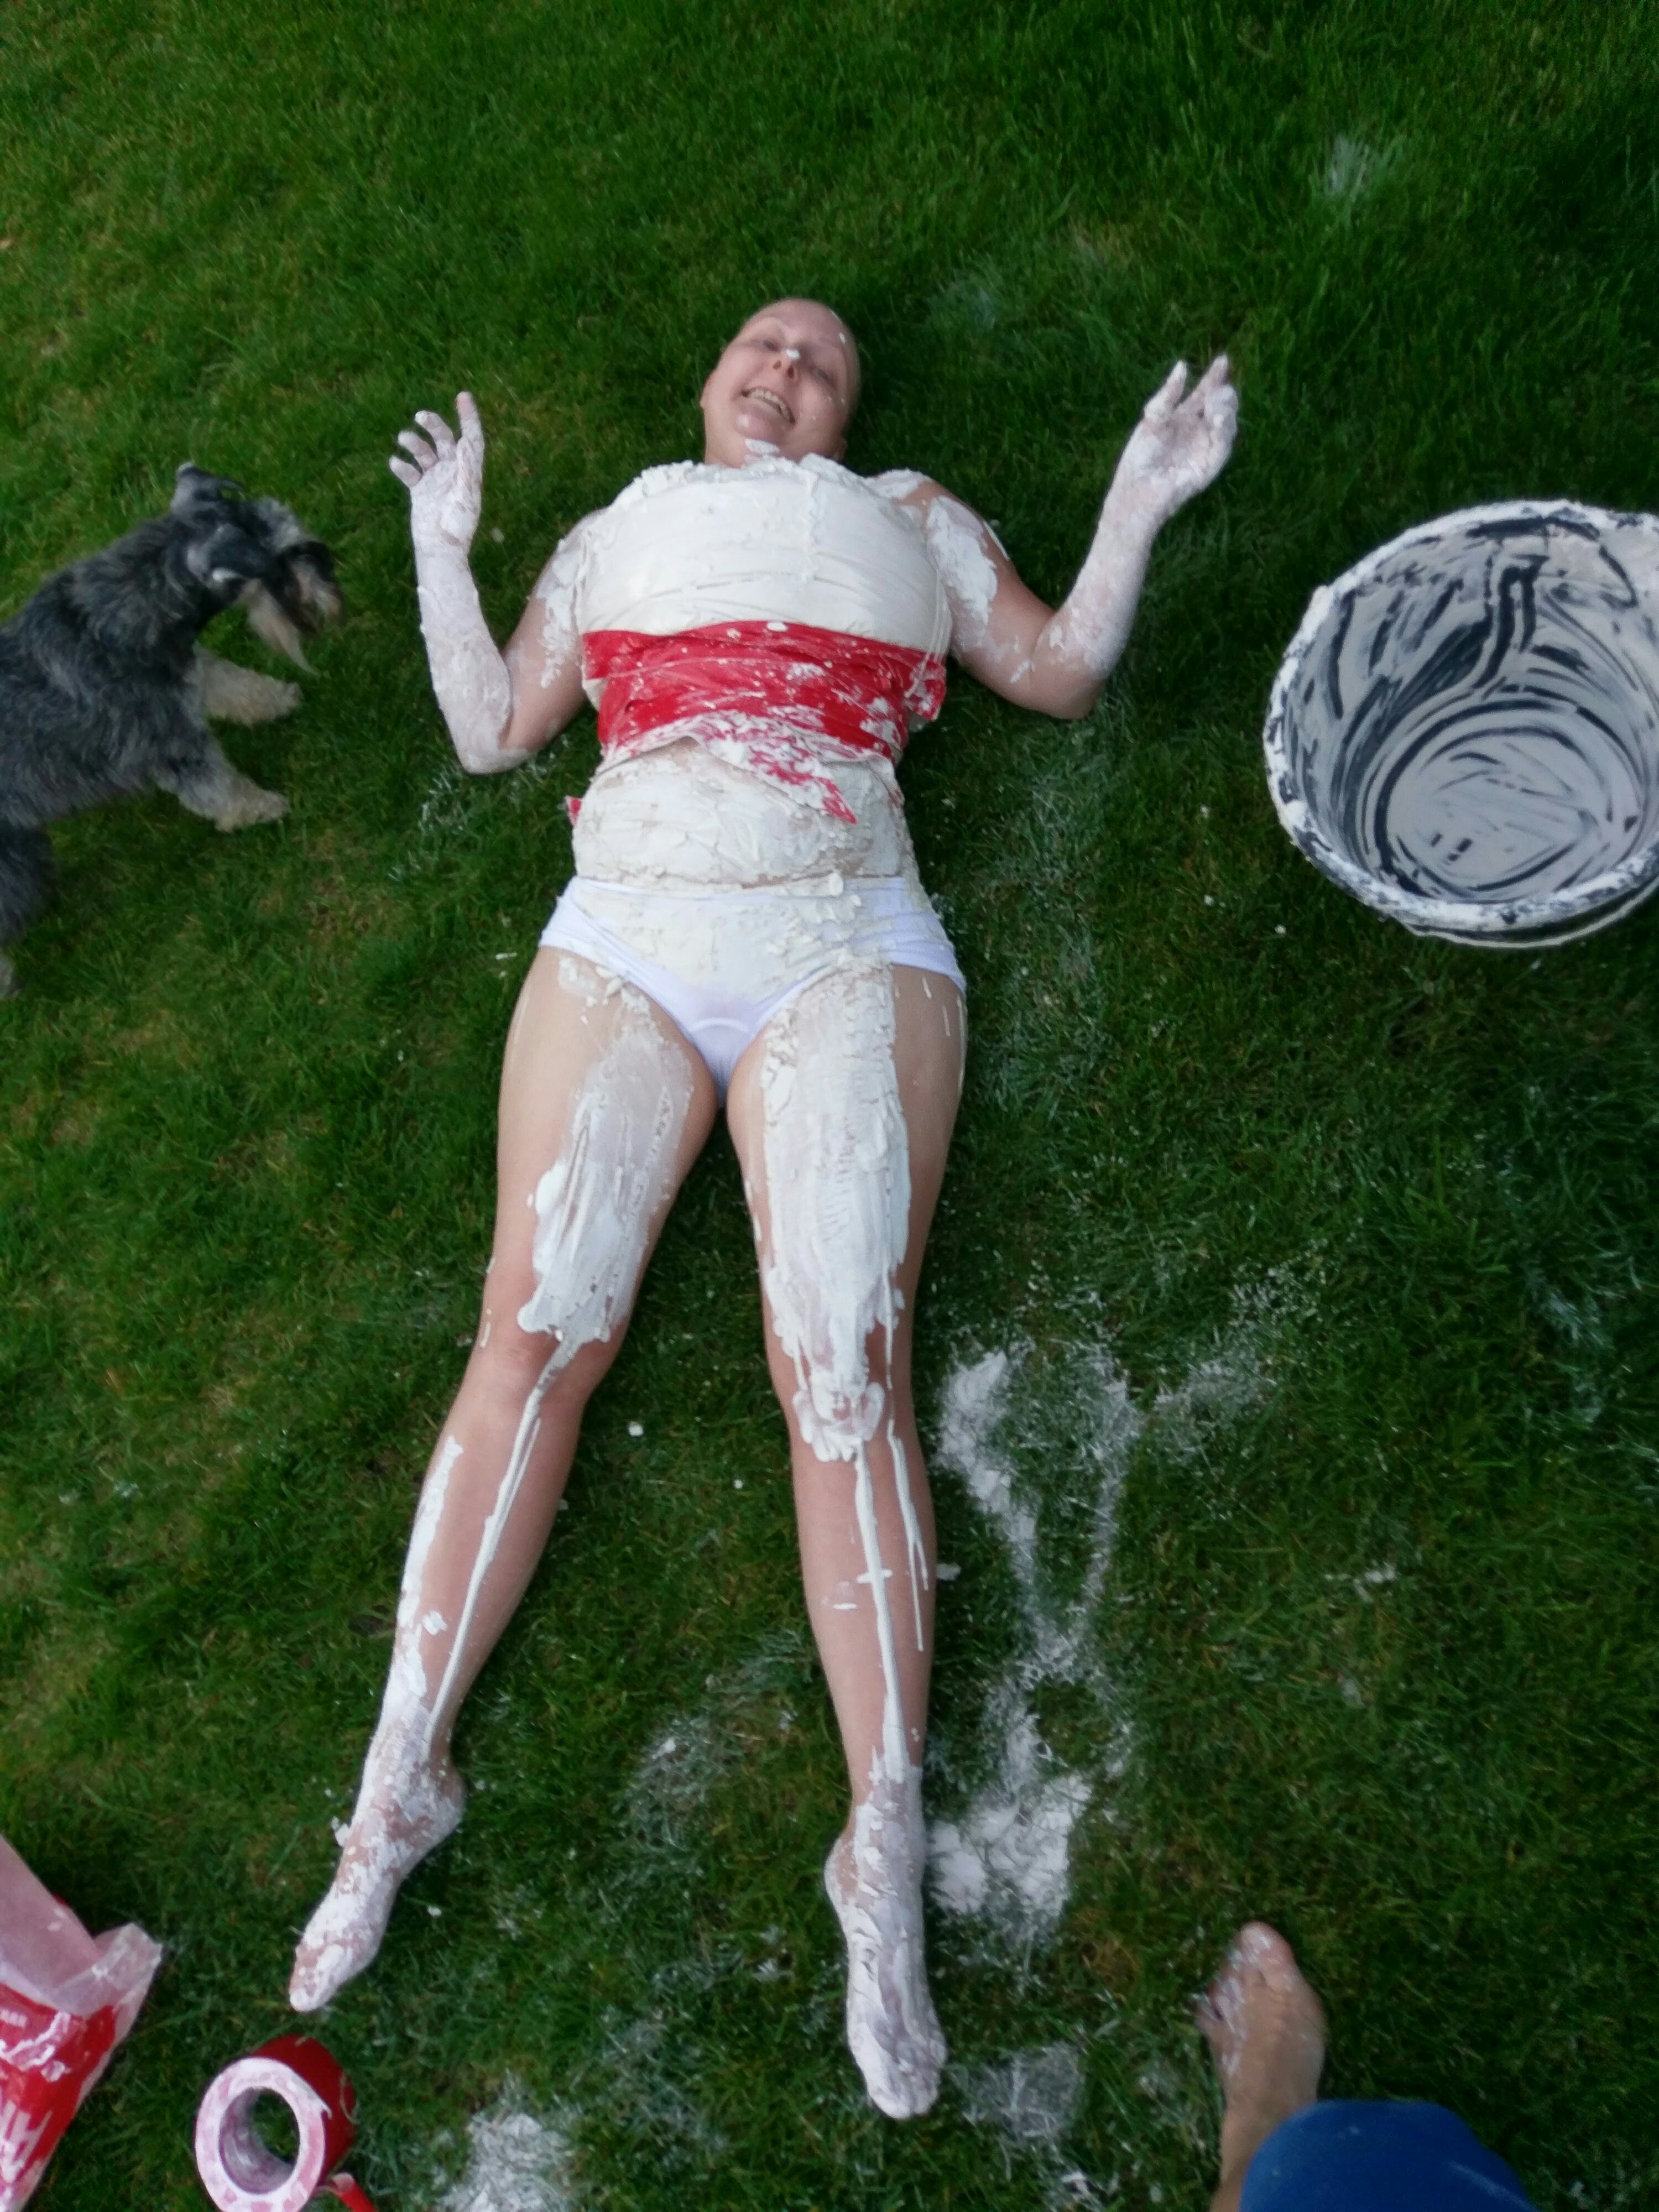
It turns out plaster is hard to get out of grass, so I would recommend that you pop a sheet on the floor if you try this at home!

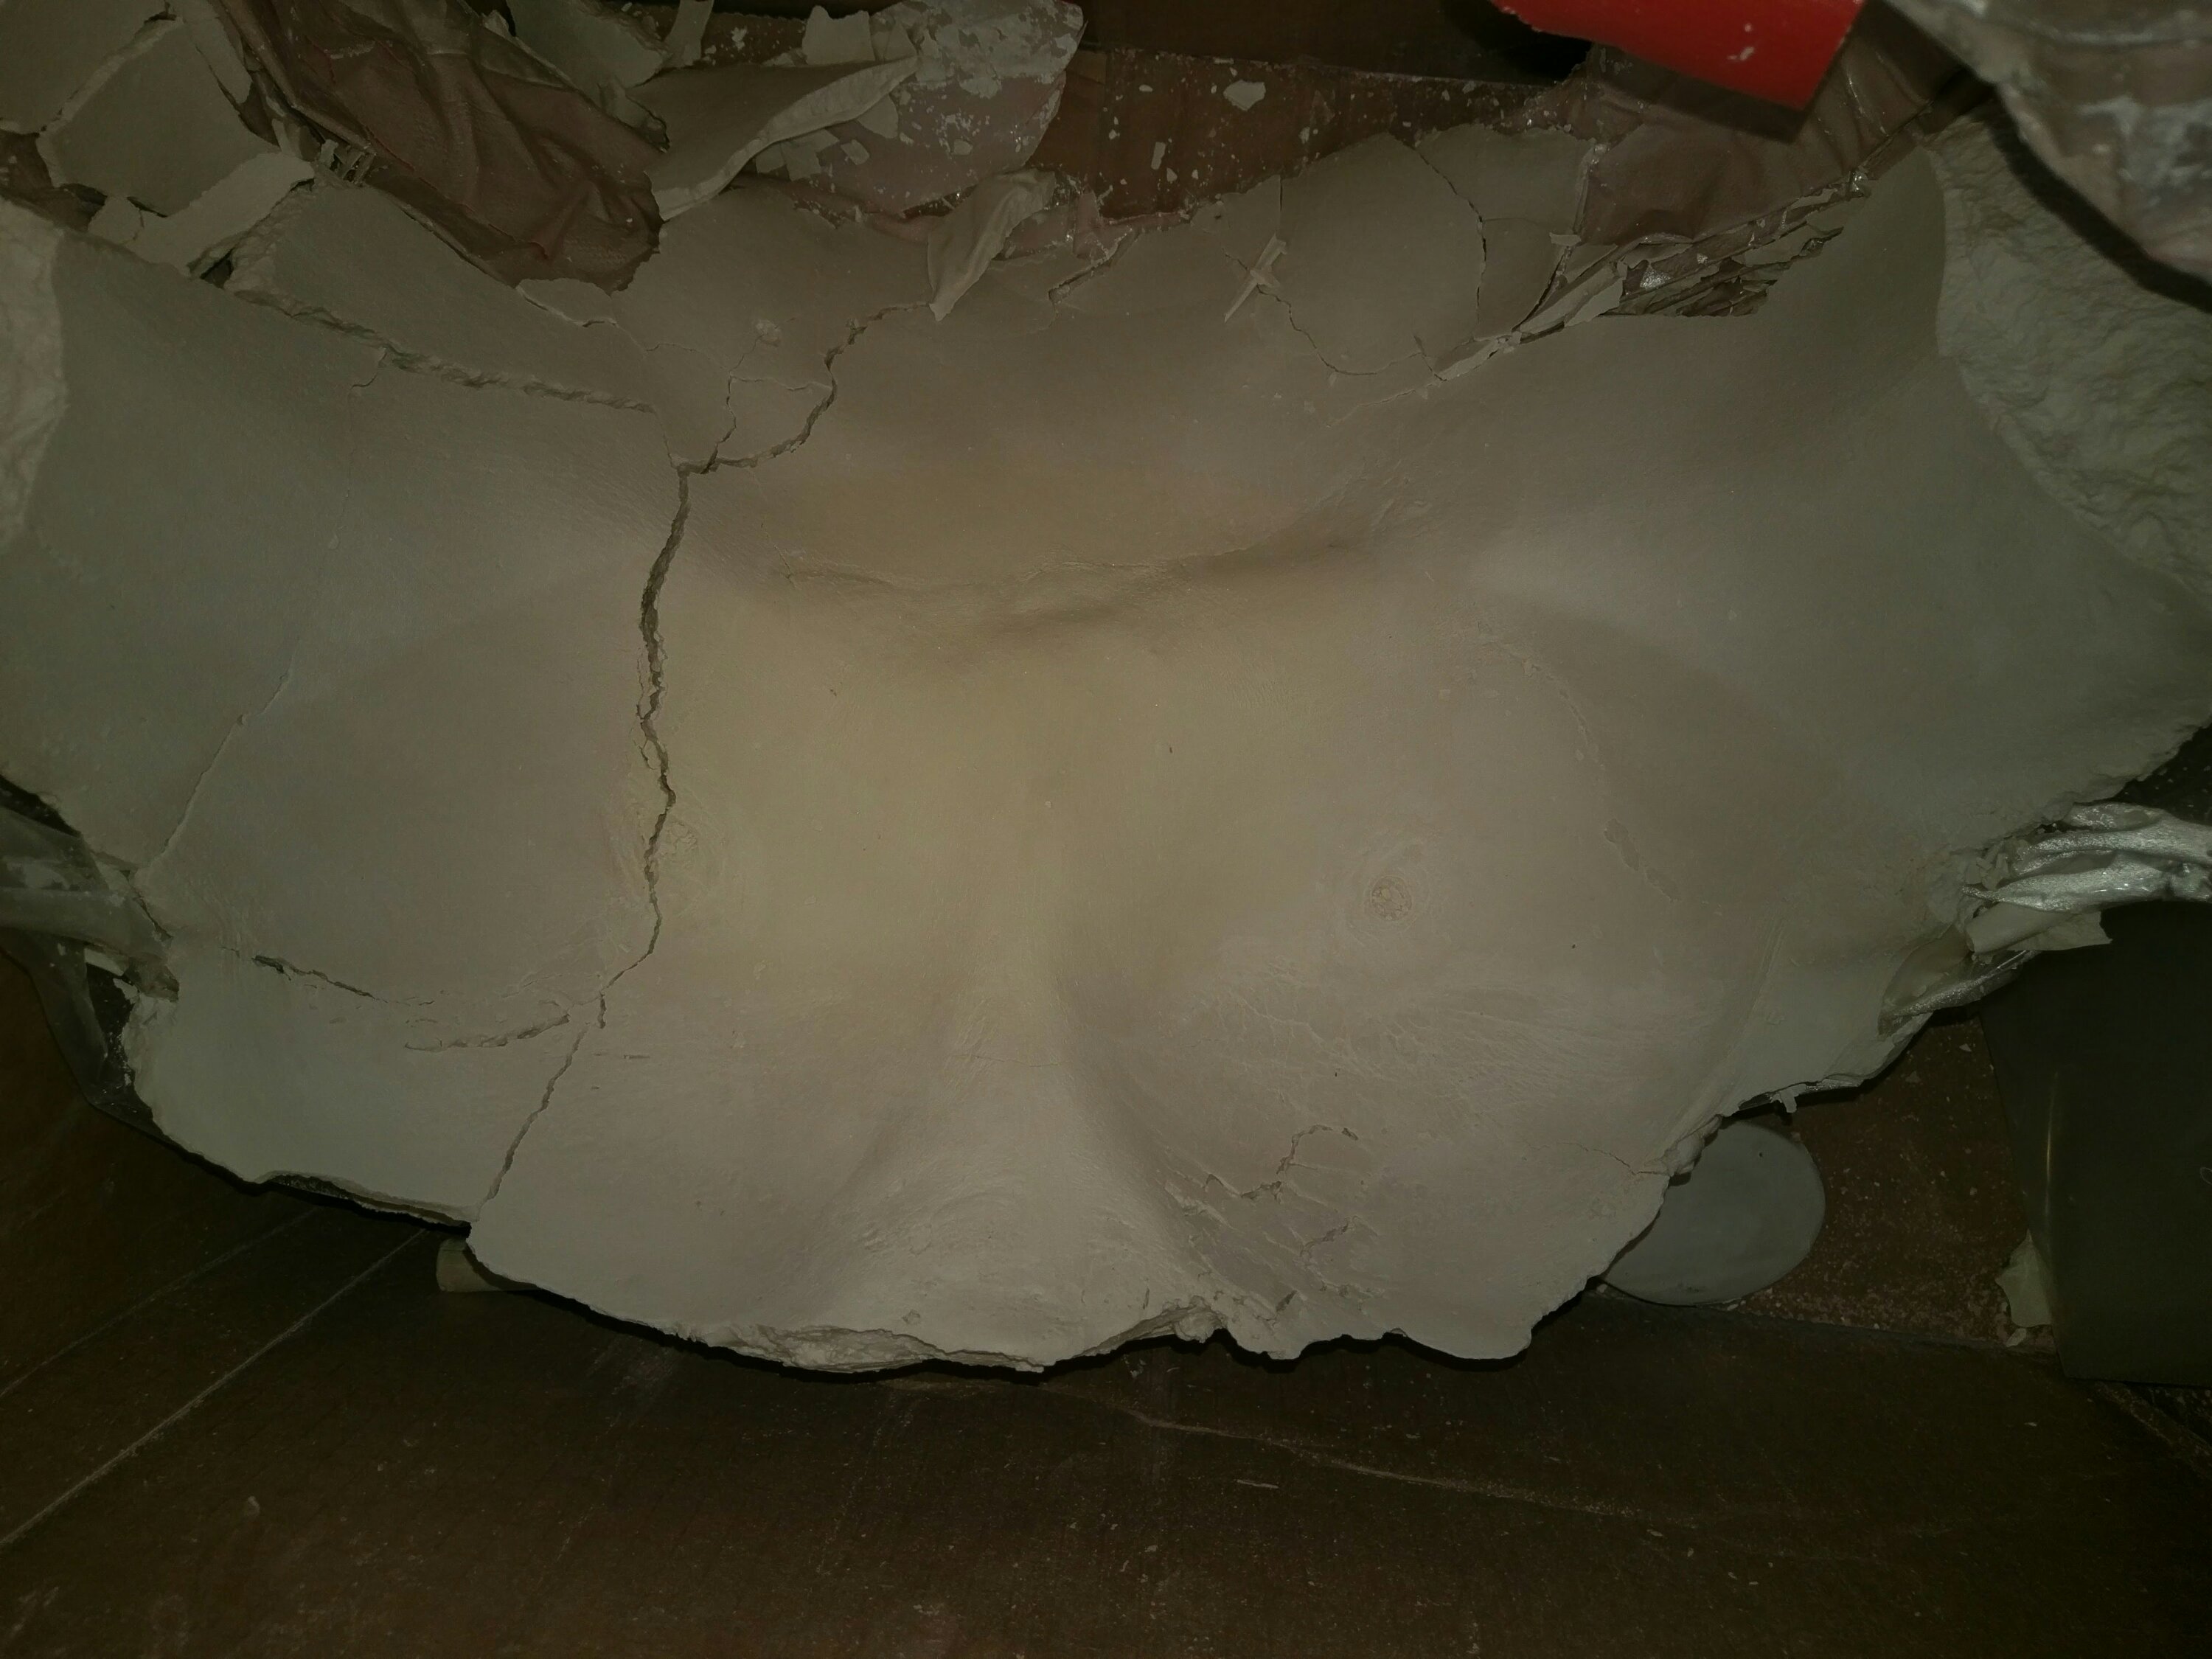
Plaster is exothermic (gives out heat) as it sets and it is important to remove it from skin contact before it gets too hot. I cut the mould from my friend’s body and carefully removed the mould….

Success!
A Kiln and First Firing!

For the past year I’ve been (very) slowly making and finishing a big stash of pots ready for the big first fire!

Enter a big old wobbly pile of ceramics, some of which have met their doom whilst waiting to join the fun.

But first enter the kiln!…

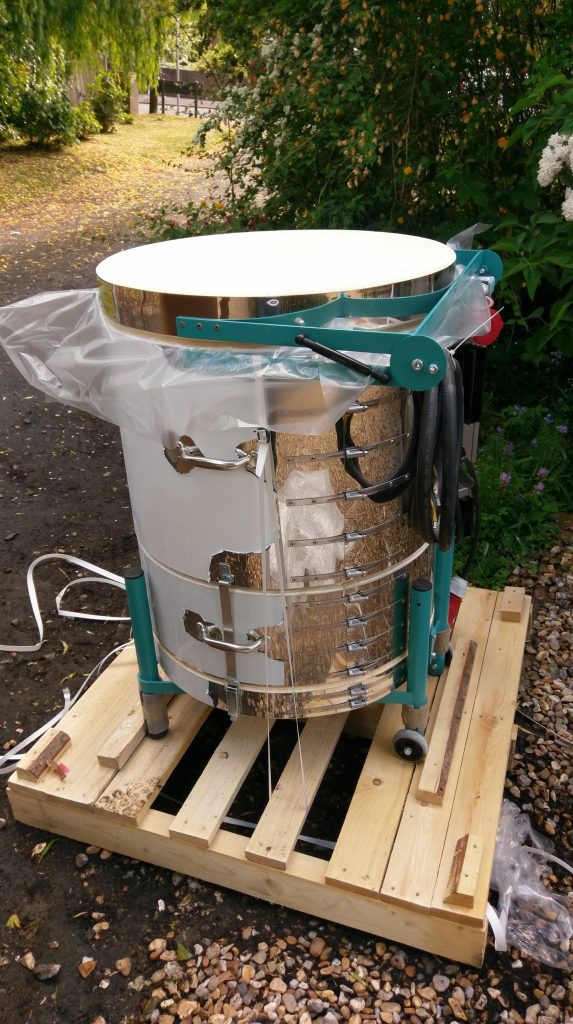
After much research and a balance between space, electical requirements and overall space I have opted for a lovely electric Rohde Kiln, with an internal capacity of 118L and a current requirement of 39A.

Rhonda unpacked…

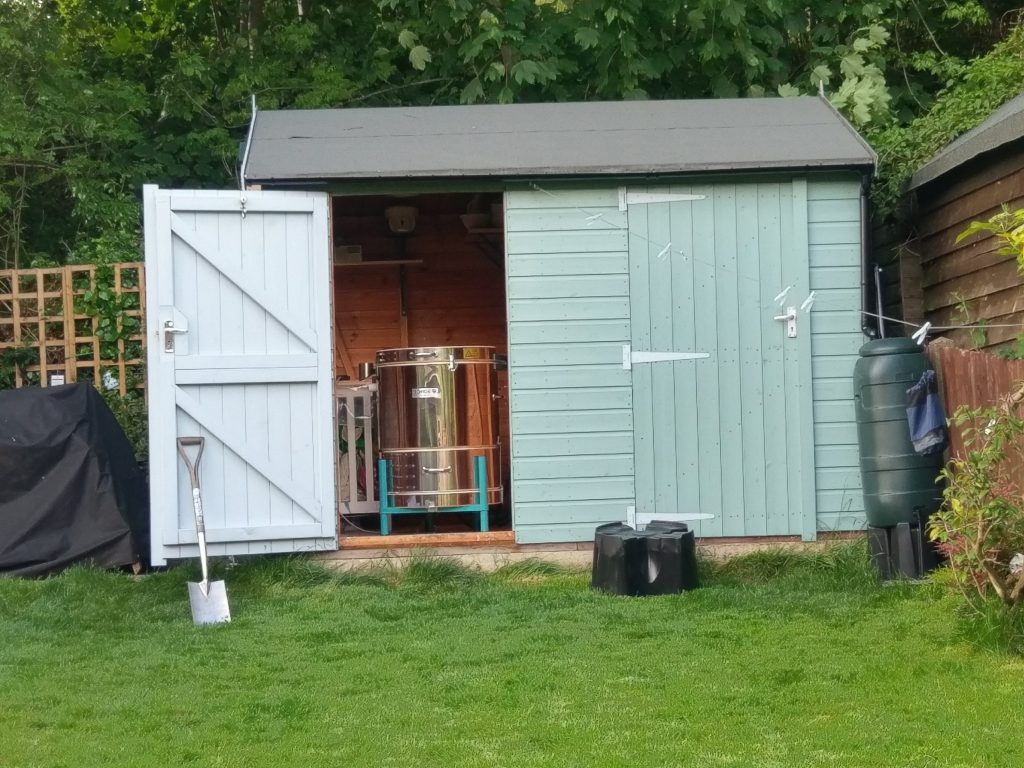
She fits… Just!

After carefully following the instructions, and setting RHonda off on a “blind bake” and re-tightening her bands it was time to get cracking.

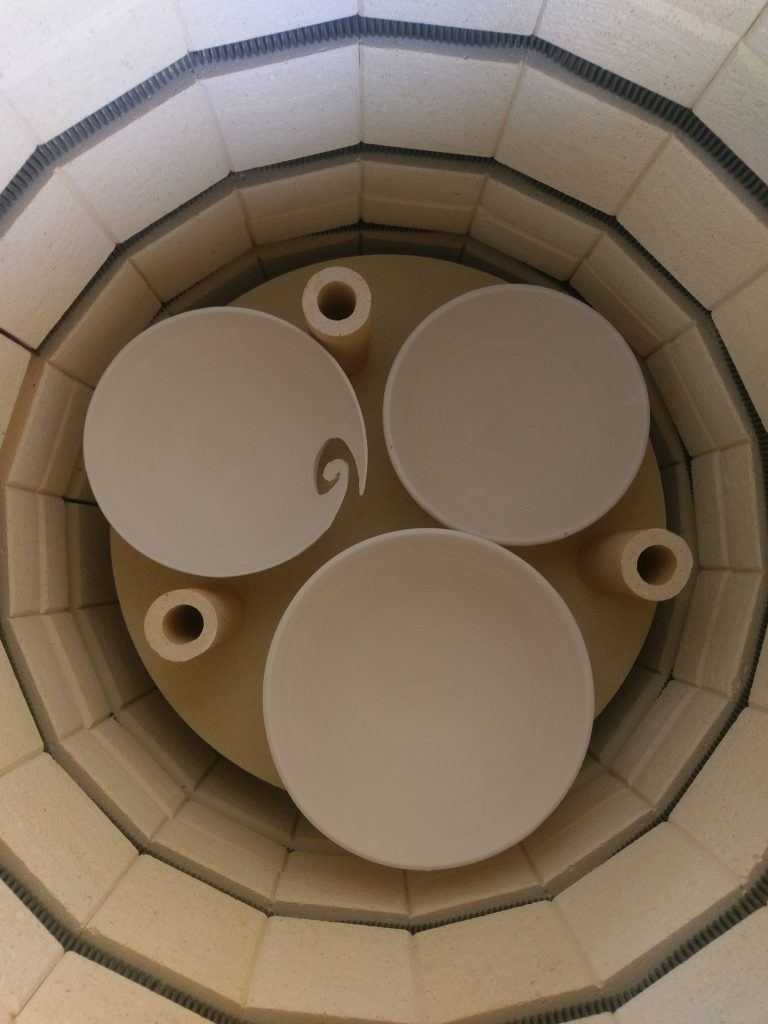
Packing the Rhonda for the first time was certainly enlightening!  I used a batt wash on the kiln shelves which is simply superb for any glaze-sticky situations! 🙂

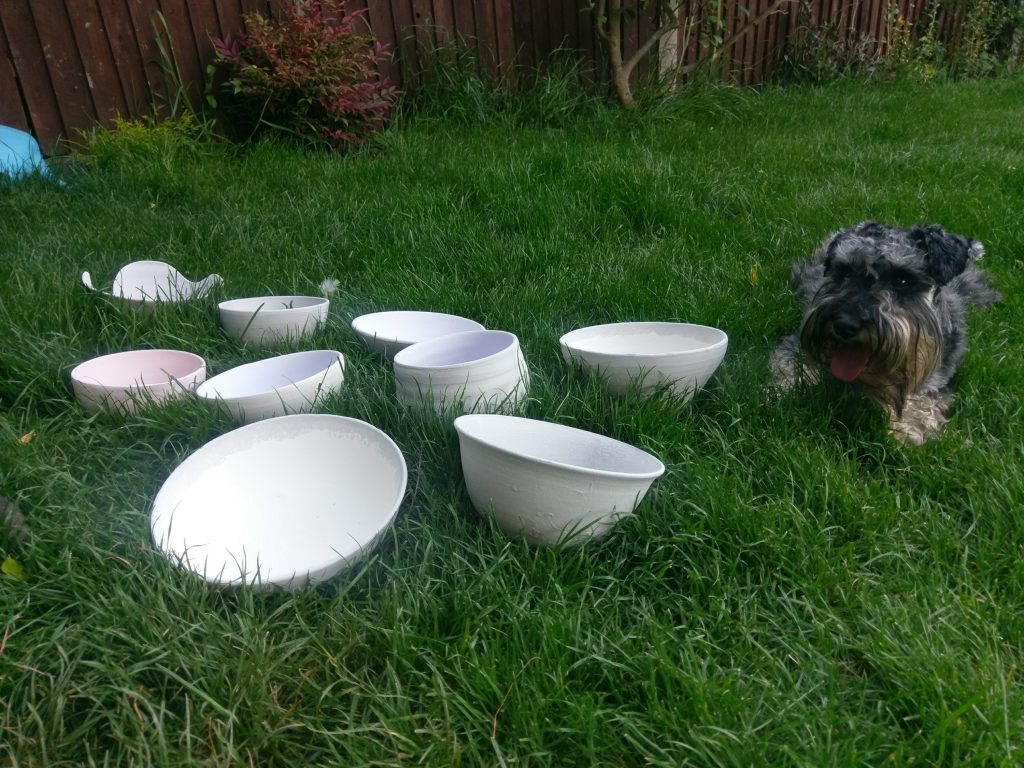
Hound approves of Rhonda’s first wares!

Reorganising

For a long time the only goddies in my shed were a lovely wheel and other tools and a few glaze buckets. I should also point out that the shed is not yet electricfied so extenstion cables have bene the norm. But in April things changed as I fianlly took the plunge and took my lovely parents on their kind offer to treat me to a birthdays and Christmas kiln!

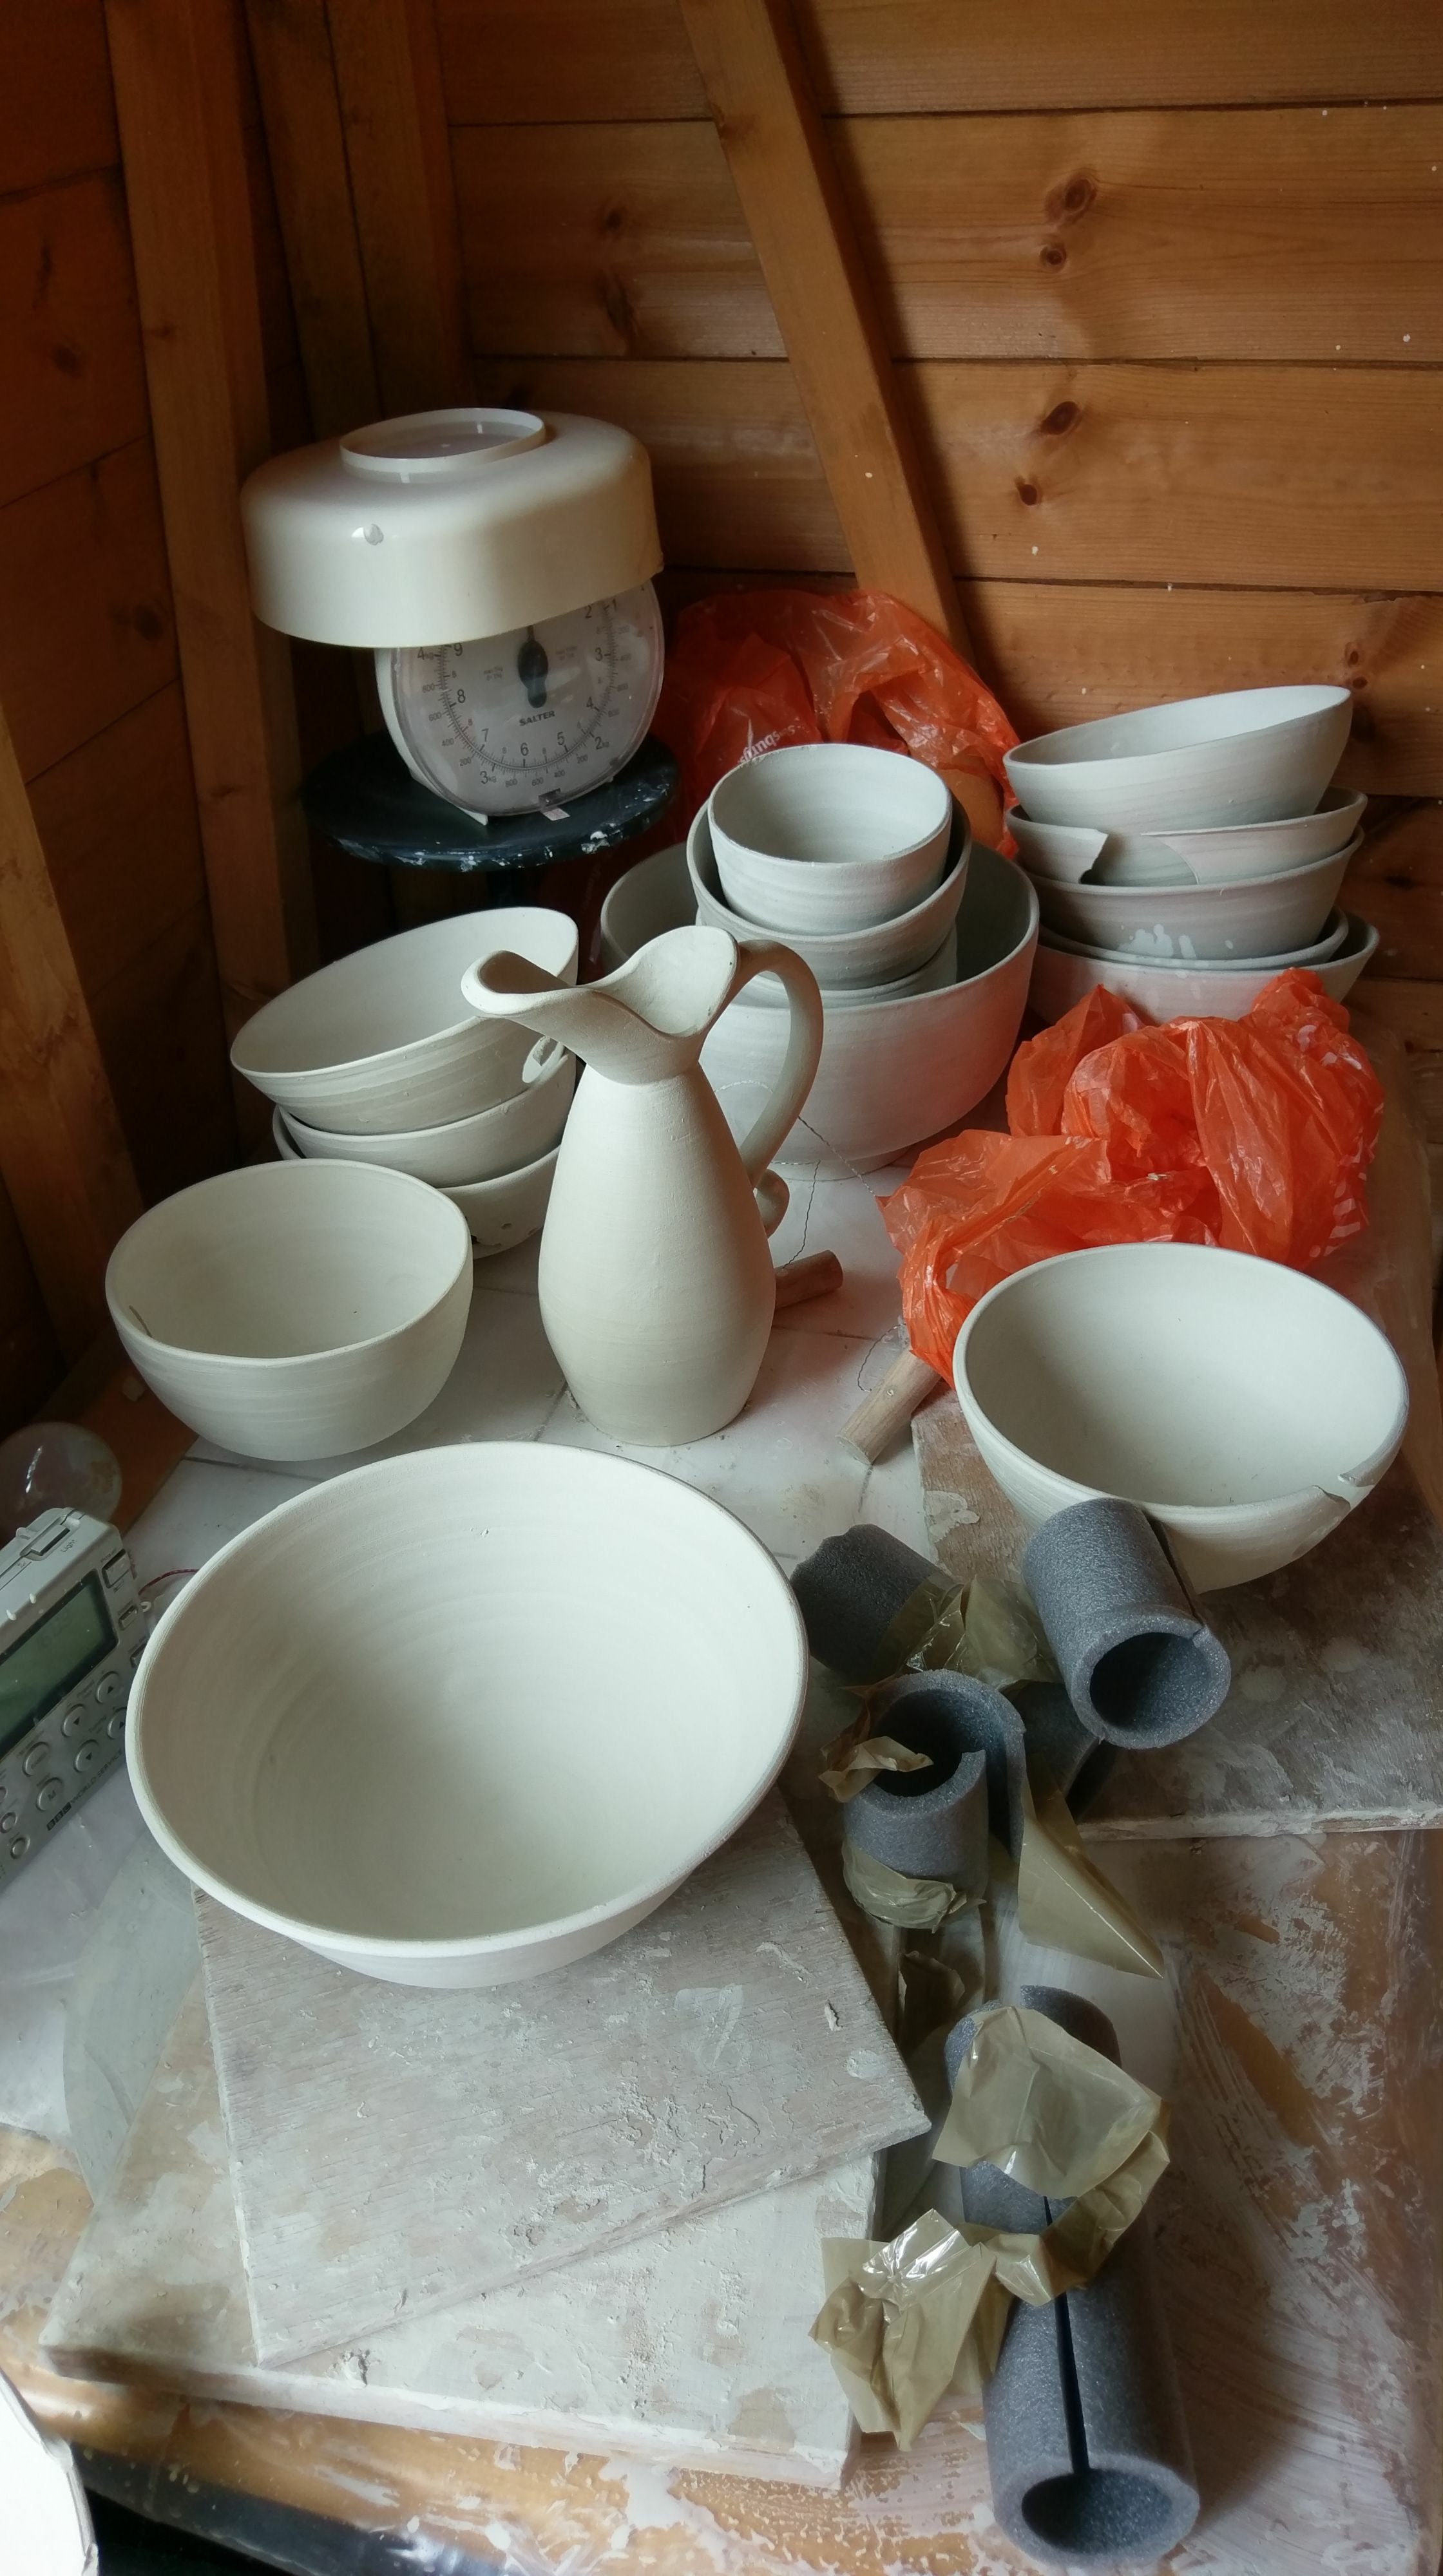
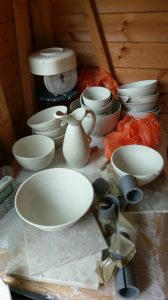
The shed and wheel have been up and running just pootling along for sometime and as a result, I have had time to build up a good supply of greenware. Time to get drastic on the storage to make space!

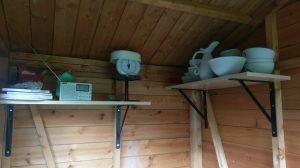
Huzzah for shelving – popping it all up high has cleared out lots of space! 🙂

Now to electricfy the shed!


Sheds!

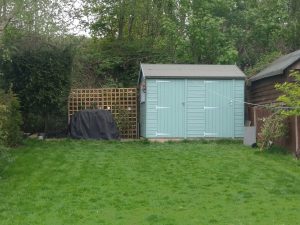
We have a small garden and small gardnes tend to mean small sheds, and we are no exception!

Even more so, when you are sharing half the shed with your husband’s dark room! So Enter the shed of Potted Peas…

Our joint shed (with concrete base and heavy duty-soon-to-be-kiln-supporting floor) is 10′ by 8′, which really means the Potted Peas shed is a tiny 5′ by 8′!

I am by no means the most tidy person in the world, but my aim is to see if it is possible to have it all in a pocket sized shed!

Time to fill it up the shed with goodies!

Welcome!

To the new and improved version of the Potted Peas website!

I’ll be posting blogs about my work and other clay activities, so check back soon for updates!

P.P.